Hatching eggs is an amazingly fun and rewarding experience. In just 21 days you can have healthy baby chicks breaking out of the eggshells!
Shipping & Unpacking
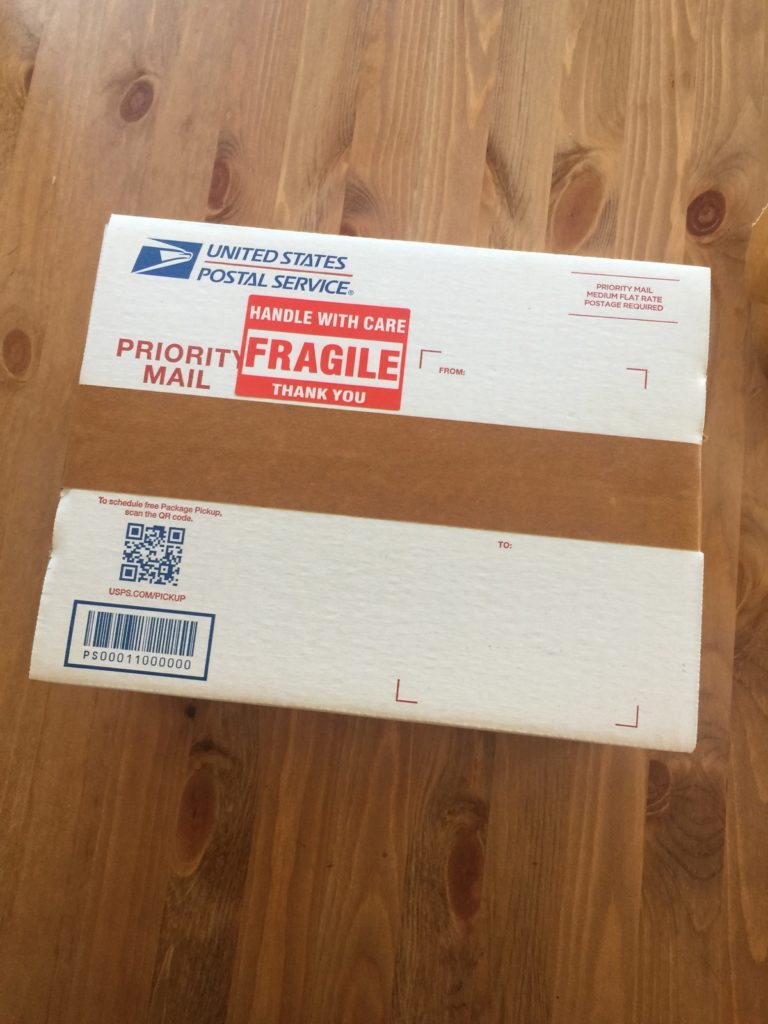
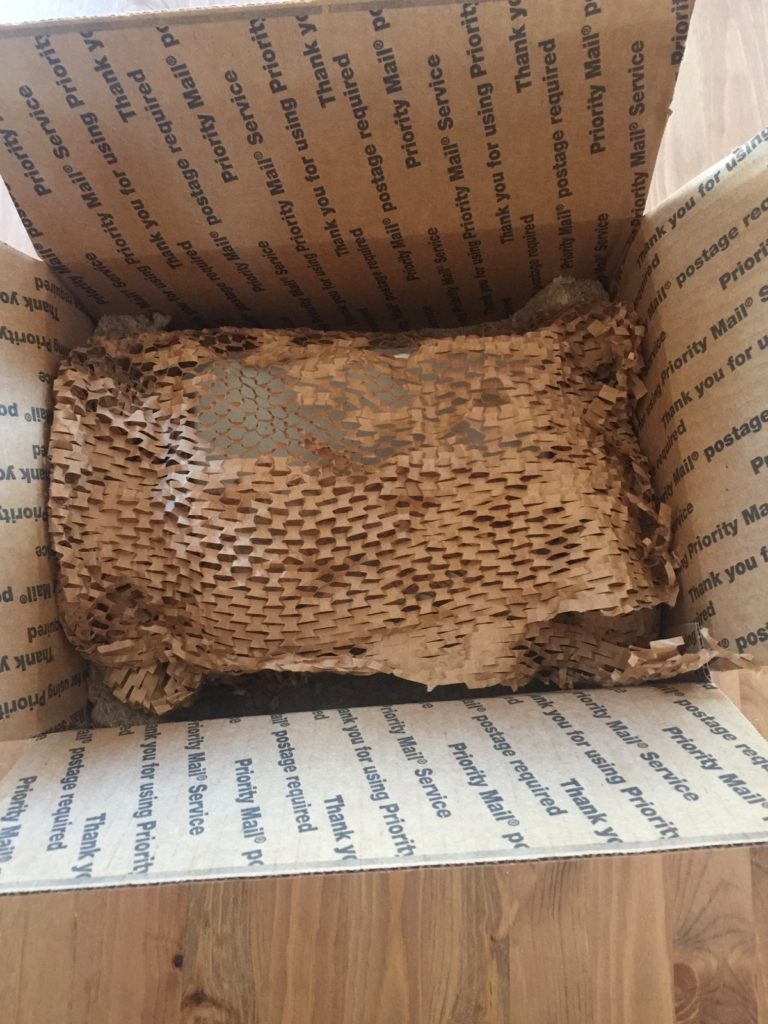
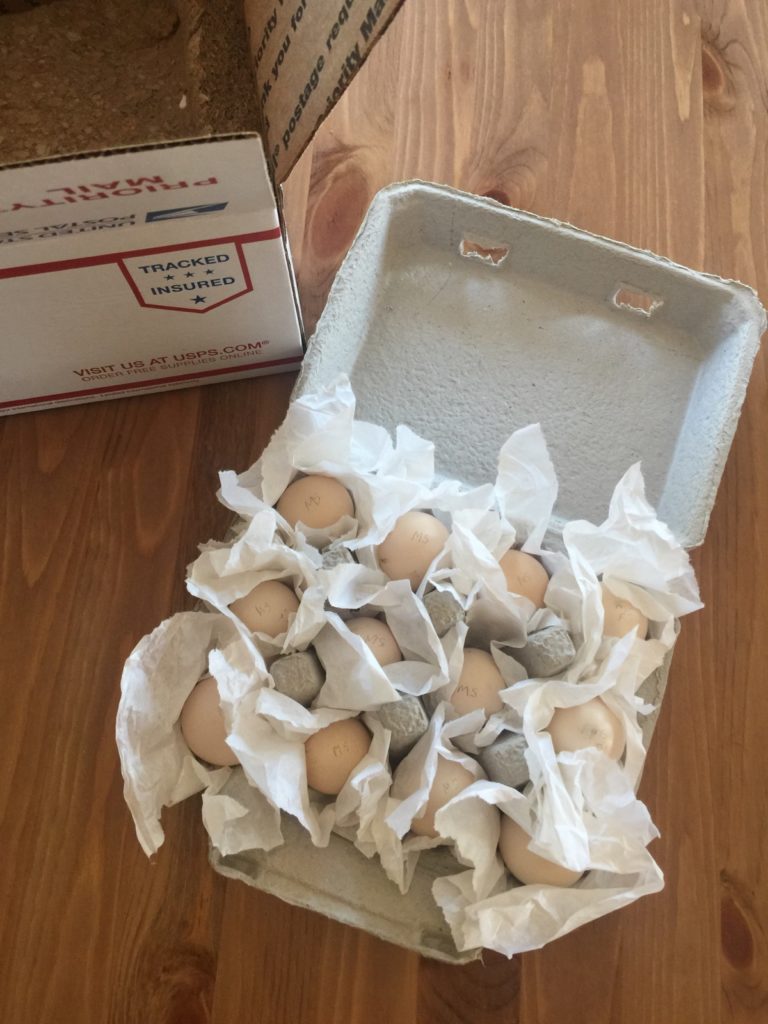
The hatch rate for shipped eggs is lower than eggs that havenʼt been shipped but there are several things you can do to ensure the best hatch possible.
Jostling during shipping can damage the integrity of the egg (even if the shells don’t break) and that can interfere with chicks developing properly and hatching.
When your eggs arrive open the box and remove the cushioning material and carton, then wash you hands before unpacking the eggs from the carton. Carefully inspect them and candle them to check for any hairline cracks.
If any eggs show signs of damage, it is possible to hatch them after sealing any minor cracks with melted beeswax. When an egg is cracked, even if it does not penetrate through the membrane, it becomes susceptible to bacteria. These eggs can ruin your entire hatch. You will have to decide if you want to take that risk.
Let the eggs rest for 24 hours at room temperature, pointy end down. This allows the air bubble to settle back into proper position.
Candle the eggs to ensure the air cell at the big end of the egg in each is stable. If any air cells look to be shaky, set the eggs in your incubator vertically (big end up) and leave to incubate without the turner running for 2-3 days. As the germ develops the veining will help to stabilize the air cell at the top of the egg.
After 7-10 days, egg fertility starts to drop, so try to incubate the eggs as soon as possible after the rest period. (We ship eggs no more than 3-5 days after they are laid and mark the date on each egg.)
Prepare To Hatch
There are several incubator brands on the market to choose from. We prefer using a Brinsea incubator for small hatches; we love our Mini Advance for up to 7 eggs and our Maxi Advance for up to 24 eggs. Whatever incubator you chose, test the temperature and humidity to be sure you can maintain a constant environment throughout the hatch. Set it up and test it for 24 hours while your eggs rest if you havenʼt tested it already.
The temperature should be at a constant 99.5F. If it is off even a degree it can be harmful to the developing embryos. Be sure the incubator is set away from sunny windows and drafts, and in a place where it won’t be disturbed.
We like to keep houseplants near our incubators to help keep fresh clean air around the incubators. We also keep the incubator vents all the way open to ensure the embryos get sufficient fresh air and oxygen.
The humidity level should stay between 40-50% for the first 18 days and then be increased to 65% during the last three days. You can monitor the humidity with a hygrometer. Note: One of the reasons we love the Brinsea Mini and Maxi Advance incubators is because they are excellent at keeping the humidity in range with a simple water reservoir and do not require a hygrometer, yet we still often get a 100% hatch rate.
Make sure your incubator is thoroughly cleaned between hatches. Our favorite way to naturally disinfect incubators between hatches is with Thieves Cleaner. Wash your hands before and after handling the eggs. If bacteria penetrates the shell, it will multiply in the heat and humidity and can kill the developing embryo. (If this happens, youʼll typically see a blood ring when you candle the egg.)
Incubation (First 18 Days)
After youʼre sure the incubator is set up and ready, carefully place the eggs inside. (There will be a temporary drop in temperature but donʼt adjust your incubator, just make sure it comes back up soon.)
You can optionally include a cooling period daily, mimicking the broody hen getting up to drink/eat and relieve herself but the overall constant temperature needs to stay at 99.5. We use a 10 minute daily cooling period.
The eggs need to be turned to keep the yolk (and embryo) centered in the egg. You donʼt want the embryo squished between the yolk and shell. Most incubators will automatically turn the eggs for you, but if yours doesnʼt youʼll need to turn them manually (minimum of 3 times per day, 5-7 would be better).
Candling the eggs can be done to check development throughout the incubation process. We typically candle once at 5-7 days and again on day 17 or 18. You can purchase a special light for candling or even just use the flashlight on your phone with your hand creating a cup around the egg and light. You’ll need to be in a very dark room to candle the eggs.
Lockdown (Last 3 Days)
The period during the last 3 days is commonly referred to as “lockdown.” During lockdown increase the humidity to 65% so the membranes don’t dry out and stick to the chicks as they are hatching (if the membrane sticks to the chick they will most likely be unable to hatch on their own).
Stop turning the eggs so the chick has time to get into the correct position for hatching.
Keep the temperature constantly at 99.5 (no cooling period).
The typical advice is do not open the incubator during lockdown. We believe it is beneficial to open the incubators briefly each day to allow fresh air in, even during lockdown. If you do chose to open your incubator during lockdown, keep an eye out for any pipped chicks and don’t let their shell membrane dry out.
On the last days you can talk to your chicks and cluck like a hen to encourage them to hatch. If you listen carefully you can hear them peep back at you from inside their shells!
Please keep us updated as your eggs progress and grow, and report any concerns along the way.


