Posted on 3 Comments

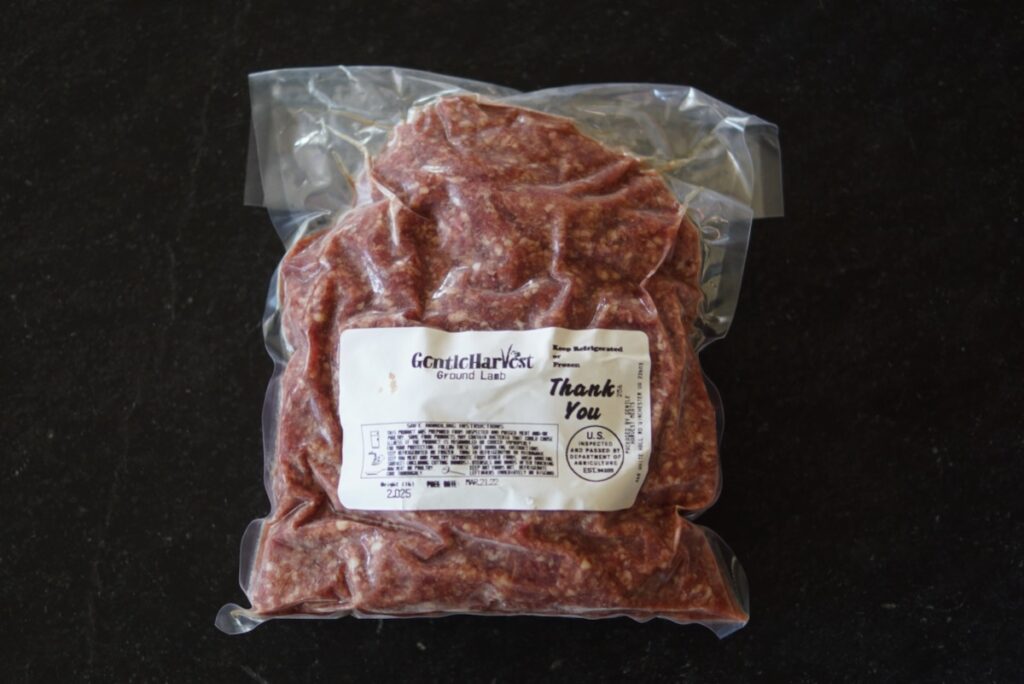
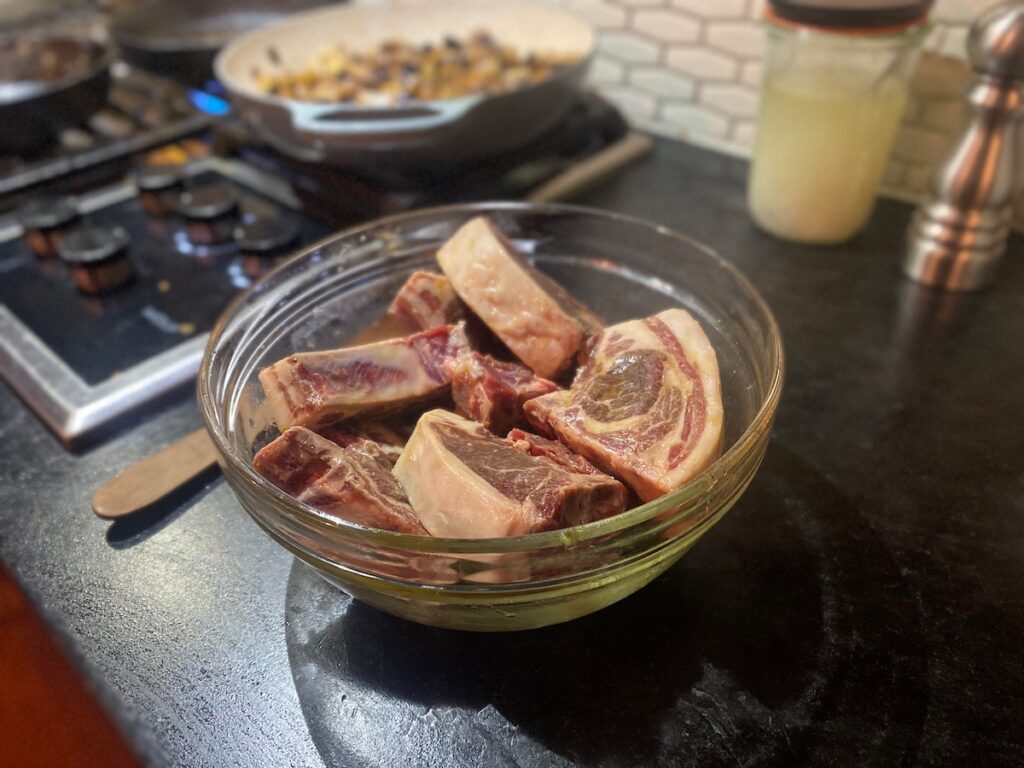
What is the true cost of pastured lamb?

Many years ago, our family switched from purchasing our meat from the local grocery store to a family farm in Pennsylvania. The family we purchased from raised animals for milk and meat (and partnered with other local families raising eggs and other animal species for meat). They sold to a NYC buying club and those of us in NYC who wanted pasture raised, organic, soy-free, corn-free milk, meat and eggs would put in our orders and then meet a van at a restaurant that volunteered it’s space for unloading and distributing the food. Members would take turns unloading and being the person in charge of checking orders and collecting payment. It was a fantastic model for city residents to get healthy food from small farms that they could visit and even have a say in how things were done! (For eg one year as costs were rising we voted on whether to pay more for our food or for the farmer to start including some organic corn in the animals’ diets. We voted to pay more!)

The prices on food of this quality may shock those of us who have never purchased meat other than what is available at a grocery store. Most meat at grocery stores comes from animals raised in crowded, unsanitary conditions, fed things that aren’t food by any stretch of the imagination.1,2 They’re given antibiotics to keep them alive in terrible conditions and on and on. The system they are raised in is designed to grow the most meat in the least space with the least cost possible. The wellbeing of the animals and the healthfulness of the resulting food that consumers purchase and eat is not a focus of this system.

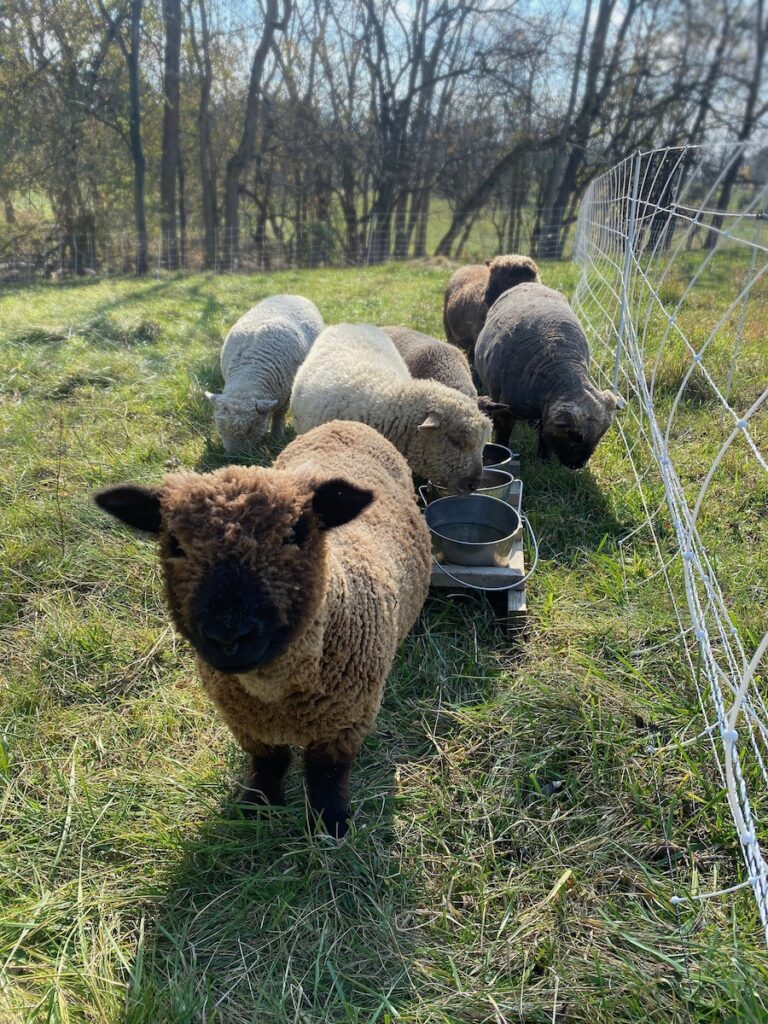
Our family was inspired by farmers like the families we purchased our meat and eggs from when we lived in NYC. They were a big part of us deciding to make a change and start raising our own food. Today I’ll talk about how we raise sheep, and what our cost of raising lambs for meat is in West Virginia. I hope this will help you have an appreciation for the price tag when you see pasture raised lamb meat for sale from a family farm! As I’m writing this, two other farmers are writing about their cost for raising pastured poultry and beef on their farms. I’ll share those links in the comments as soon as they are ready!

Assumptions
  • Fencing, shelter, waterers and mineral feeders etc are already purchased (up front cost are NOT included in the cost breakdown)
  • The lambs are born to the existing flock on the farm (cost of purchasing lambs is NOT included)
  • Time is paid at the West Virginia minimum wage of $8.75 per hour
  • A truck, trailer etc to transport the lambs to a local humane USDA approved butcher is already owned (cost of transport equipment is NOT included)
  • Each lamb yields approximately 50 pounds of meat at 1 year old or 35 pounds of meat at 8 months old
  • There are zero losses, which on our farm is possible with the protection of livestock guardian dogs (cost of feeding a guardian dog is NOT included)
  • Time monitoring ewes during labor, assisting lambing, or supporting weak lambs is NOT included

Method

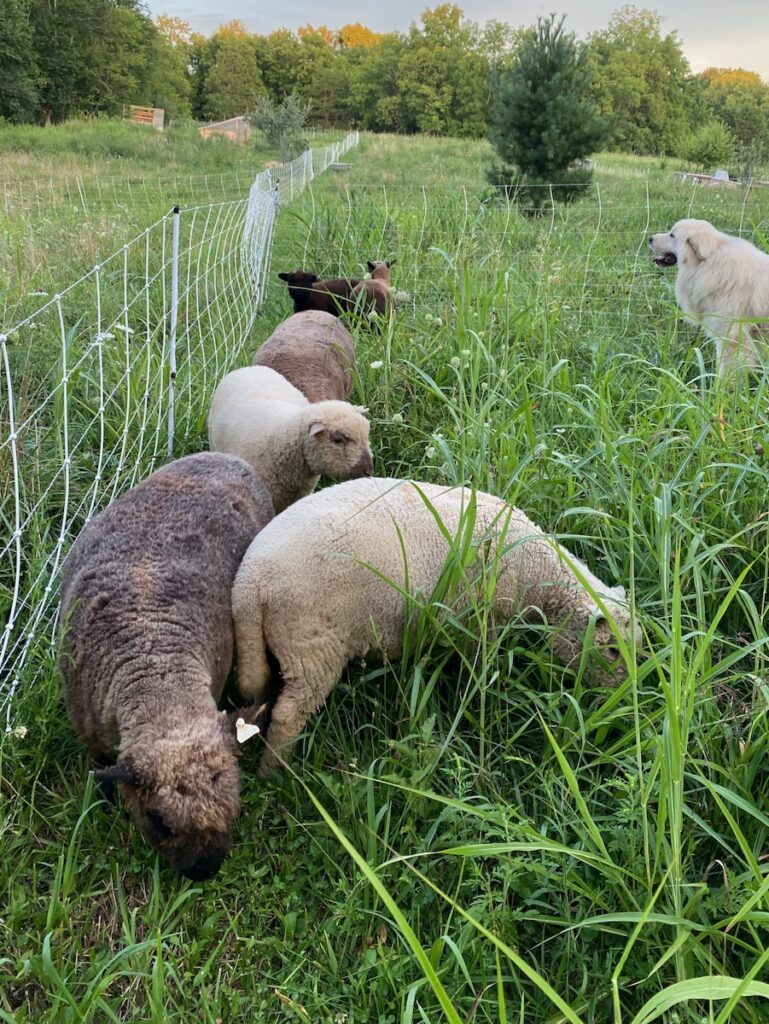
  • Lambs are raised with their mothers until weaning, on pasture, and rotationally grazed through the fall. They eat a variety of plants, run and play together in the field, rest in the shade and maybe even accept hugs and massages from the farmers during daily checks
  • Lambs are fed hay during the dormant season, still have access to pasture (a winter paddock) for fresh air and space to move around, but also have shelter to get out of freezing rain etc
  • Minerals are provided free choice
  • Natural dewormer (essential oils) are used weekly to ensure parasites aren’t inhibiting the lambs’ growth
  • Lambs are butchered at 12 months old, or at 8 months old (at the end of the growing season) in a facility that allows them to rest and calm down overnight after travel, as well as using the moving methods of Temple Grandin to keep them calm leading up to their death

Costs

April through November (35 weeks):

  • 15 minutes per day bringing water and checking minerals, observing lambs for any problems that may arise = 0.25 hours x 7 days x 35 weeks x $8.75 = $535.94
  • 30 minutes per week moving portable fencing and shade/shelter, administering dewormer = 0.5 hours x 35 weeks x 8.75 = $153.13

December through March (17 weeks):

  • Hay is fed at 5 pounds per lamb per day, a 45 pound bale costs $5 each = $5 x 7 days x 17 weeks  = $595
  • 15 minutes per day bringing water and hay, checking minerals, observing lambs for any problems that may arise = 0.25 hours x 7 days x 17 weeks x $8.75 = $260.31

Minerals and deworming

  • 1 bag of Thorvin kelp = $89.50
  • 2 bags of Redmond salt = $43.90
  • ParaGize EO (x2 bottles) = $25

Butchering

  • 1 hour loading and traveling to and from butcher = $8.75
  • Butcher fee, including parsing, bagging, weighing and labeling = $125 per lamb x 9 lambs = $1,125
  • 9 lambs x 50 pounds = 450 pounds

Total cost

$2836.53 / 450 pounds = $6.30 per pound

Other Examples

How does the cost change if you butcher at the end of November for approximately 35 pounds of meat per lamb and no winter cost? What if you only have 4 lambs to raise? Here’s a chart with four scenarios and the cost per pound:


9 lambs,  1 year old9 lambs,  8 months old4 lambs,  1 year old4 lambs,  8 months old
April-Nov hauling watering, minerals, daily check$535.94$535.94$535.94$535.94
April-Nov weekly moving fence/deworming$153.13$153.13$102.08$102.08
Dec-March hay purchase$595.00$0.00$264.44$0.00
Dec-March hauling water, hay, minerals, daily check$260.31$0.00$260.31$0.00
Thorvin kelp$89.50$89.50$89.50$89.50
Redmond salt ($21.95 each)$43.90$43.90$21.95$21.95
ParaGize ($12.50 each)$25.00$25.00$12.50$12.50
Load and travel to butcher$8.75$8.75$8.75$8.75
Butcher fee ($125 per lamb)$1125.00$1125.00$500.00$500.00
Meat yield (50 per lamb at 1 year, 35 per lamb at 8 months)450 pounds315 pounds200 pounds140 pounds
Total Cost$2836.53$1981.22$1795.47$1270.72
Cost Per Pound$6.30$6.29$8.98$9.08

If we were to sell our lamb meat at cost, would you think those prices are fair for the work put in and the quality of the meat? How much of a profit should a farmer make? One of the reasons we don’t sell much of the food we grow is that we can earn a lot more money per hour doing other work; so we raise animals for our own consumption. If all of us consider the effort of the farmers we purchase from, and gladly pay the prices that keep them in business I think it would contribute significantly to a better future for animals, farmers and consumers! What do you think? Where do you typically get your meat? How do you decide how much it’s worth to you per pound? I’d love to hear your thoughts in the comments.

Posted on Leave a comment

Mint Leaf’s Birth Story

Mint Leaf Chewing Her Cud in Her Shelter About 2 Weeks Before Her Due Date

Mint Leaf was bred when she arrived on our farm in July of 2023, and we had our vet do a physical exam to estimate how far along she was. She gave us an estimated due date of Feb. 3, 2024.

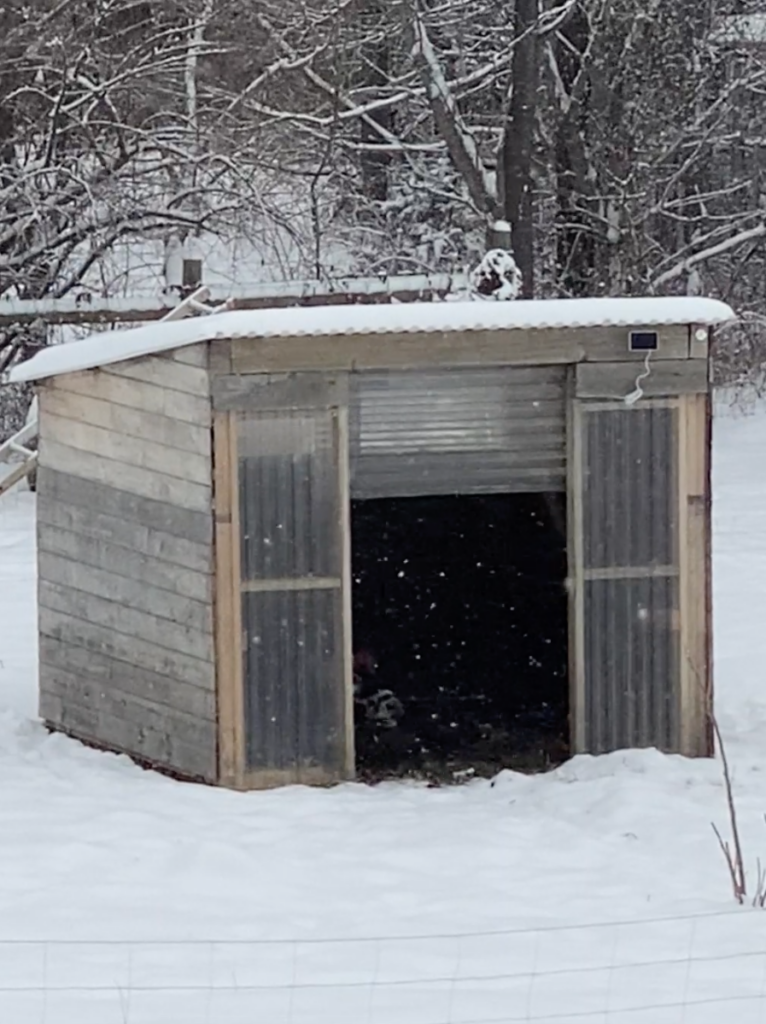
This was our first experience with a cow calving in what may be the coldest part of winter, so we prepared and planned ahead for keeping her calf safe and warm. Two weeks before her due date we moved Mint Leaf into a paddock with a mostly closed in shelter. Inside we added lots of hay on the ground for the calf to snuggle into and we purchased a calf jacket to help the calf retain body heat. There are also free choice minerals inside so Mint Leaf can balance her exact mineral needs leading up to and post-calving. Finally we added a solar-powered video camera so that we could easily check on her throughout the night! This as been the most snowy winter in the seven years we’ve been here so we were relieved to have everything set up in advance.

During the two weeks leading up to when we expected Mint Leaf to calve, she began to show the typical signs that calving was near. For example, her udder started to fill in, her “pins” disappeared, her vulva became swollen and wobbly and she had some clear discharge. One night, about a week before she actually calved, she looked like she was pushing when I checked her on the camera but it was just once and nothing more developed. It seemed to be something like how women have preparatory Braxton-Hicks contractions. Soon Mint Leaf’s due date came and went, but we knew we only had an estimate and it could be off by a week or two, so we were not worried.

Mint Leaf the Day She Calved

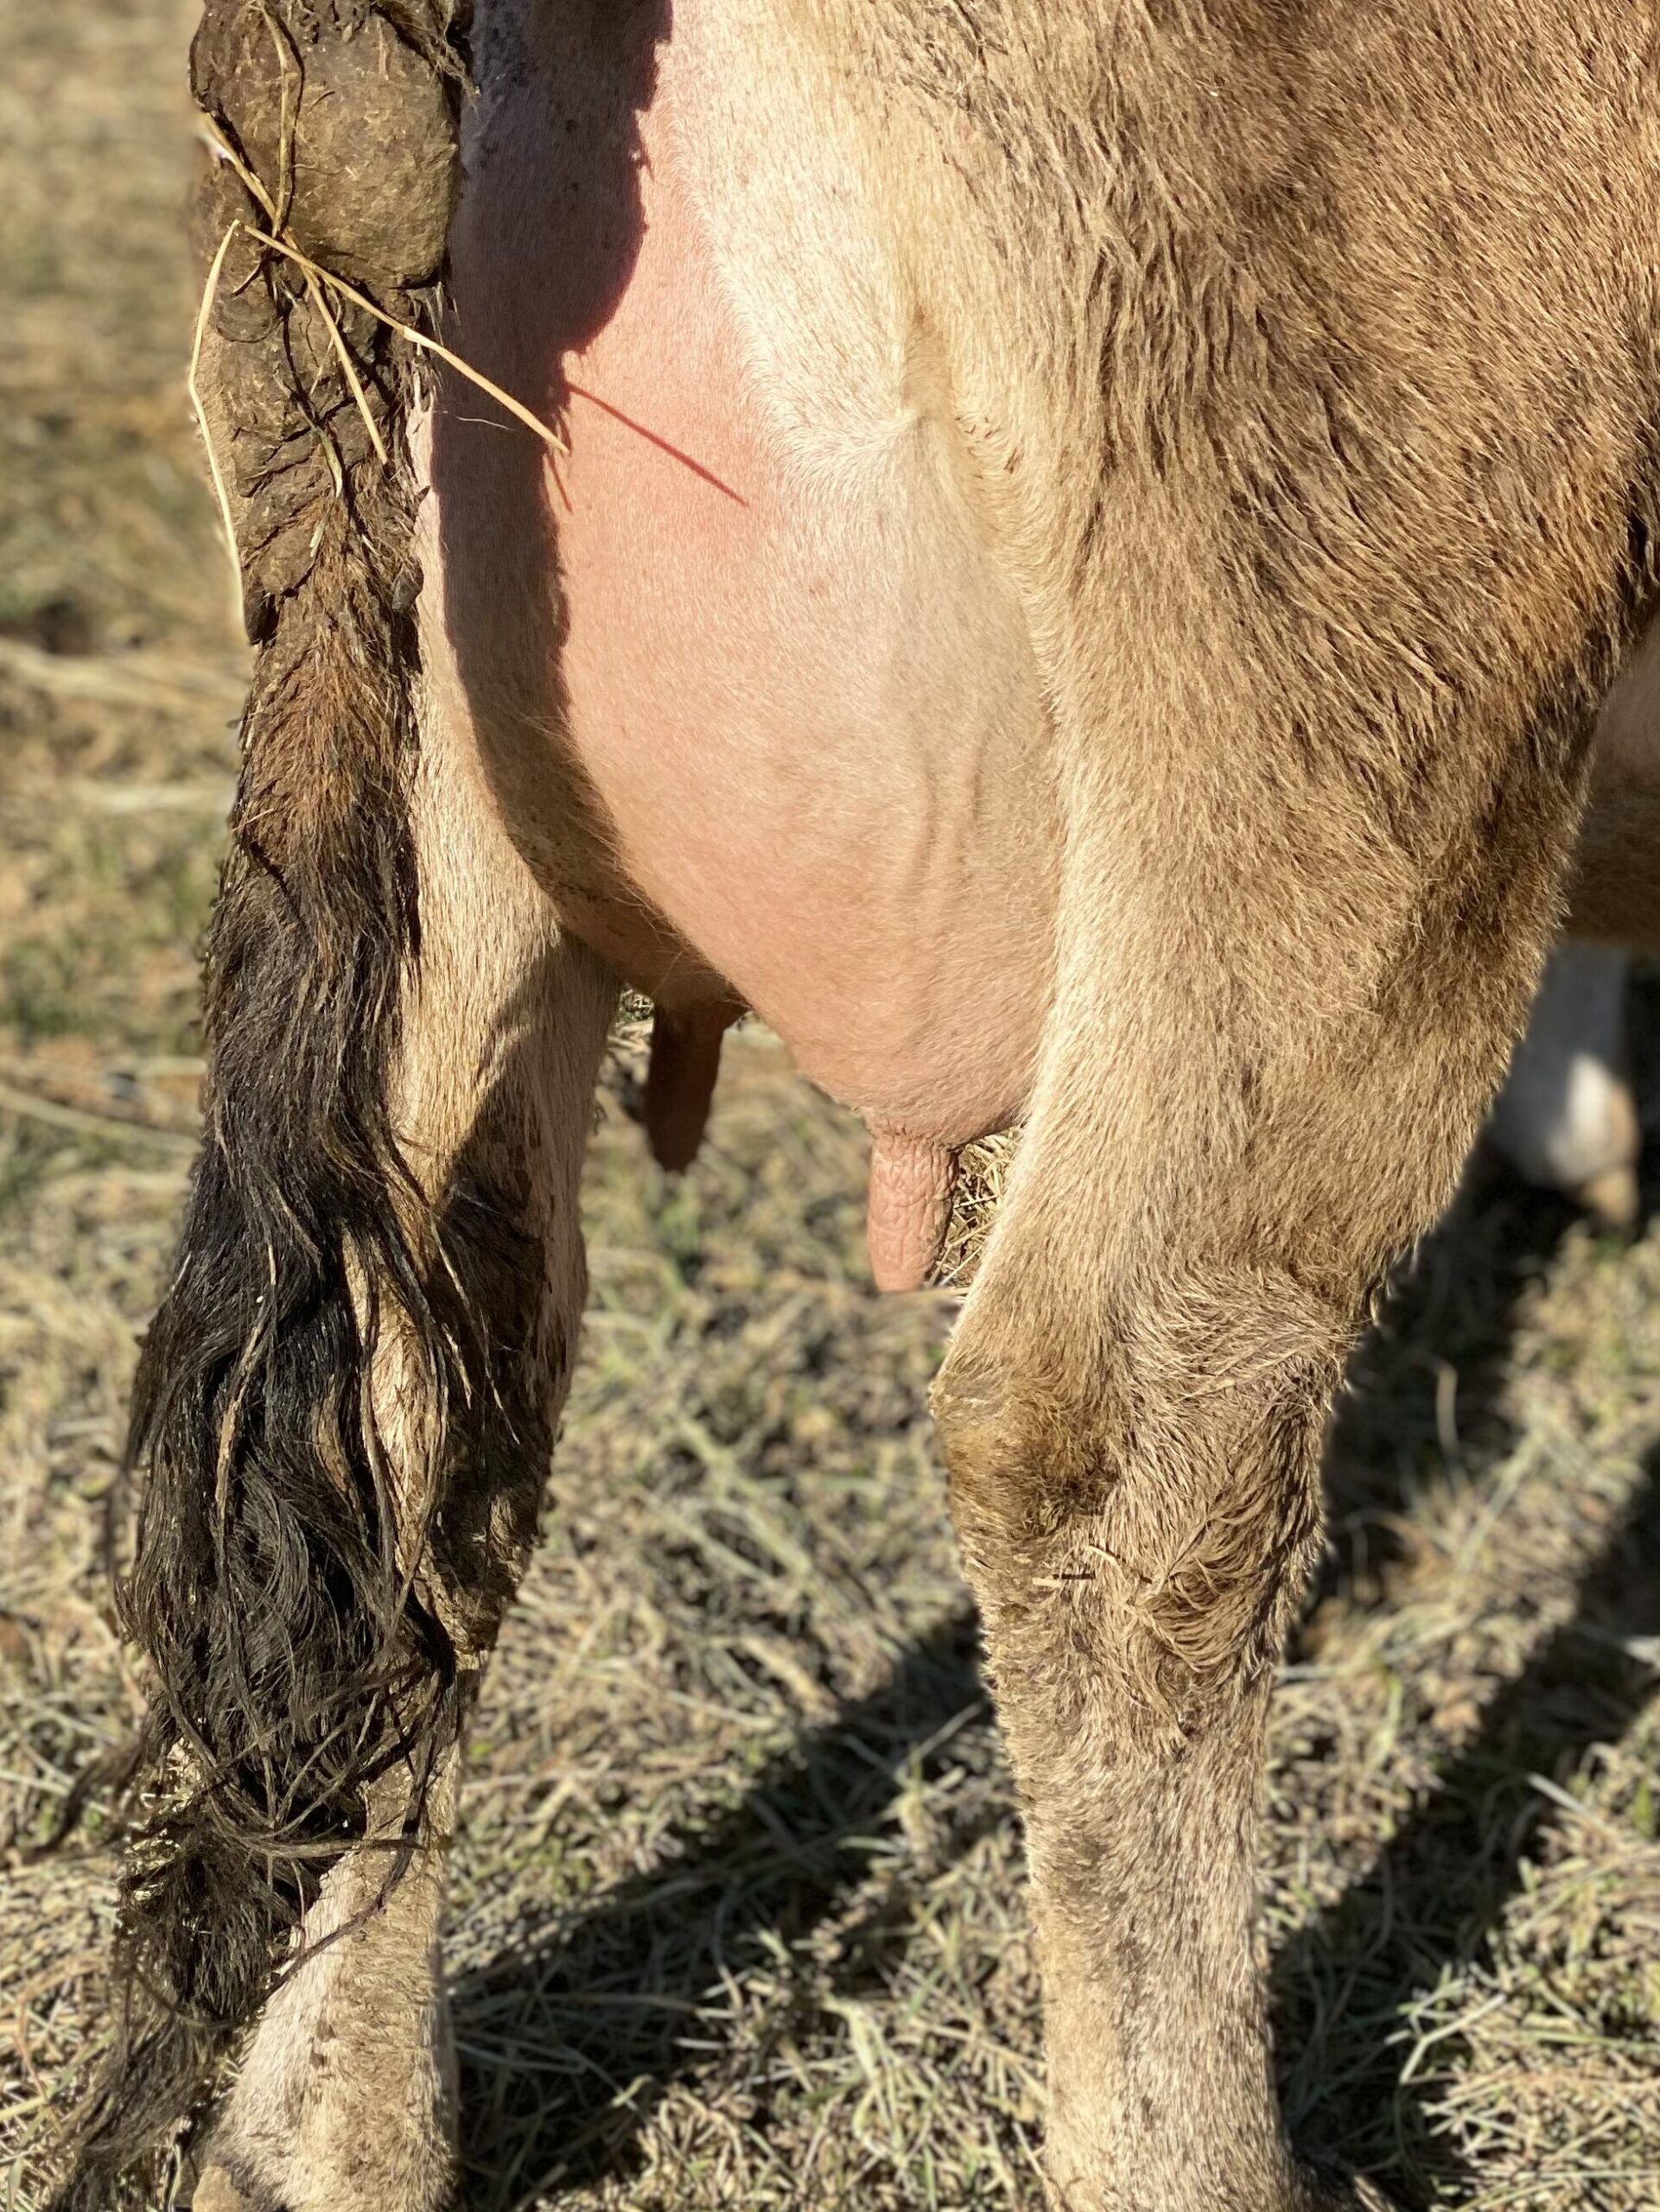
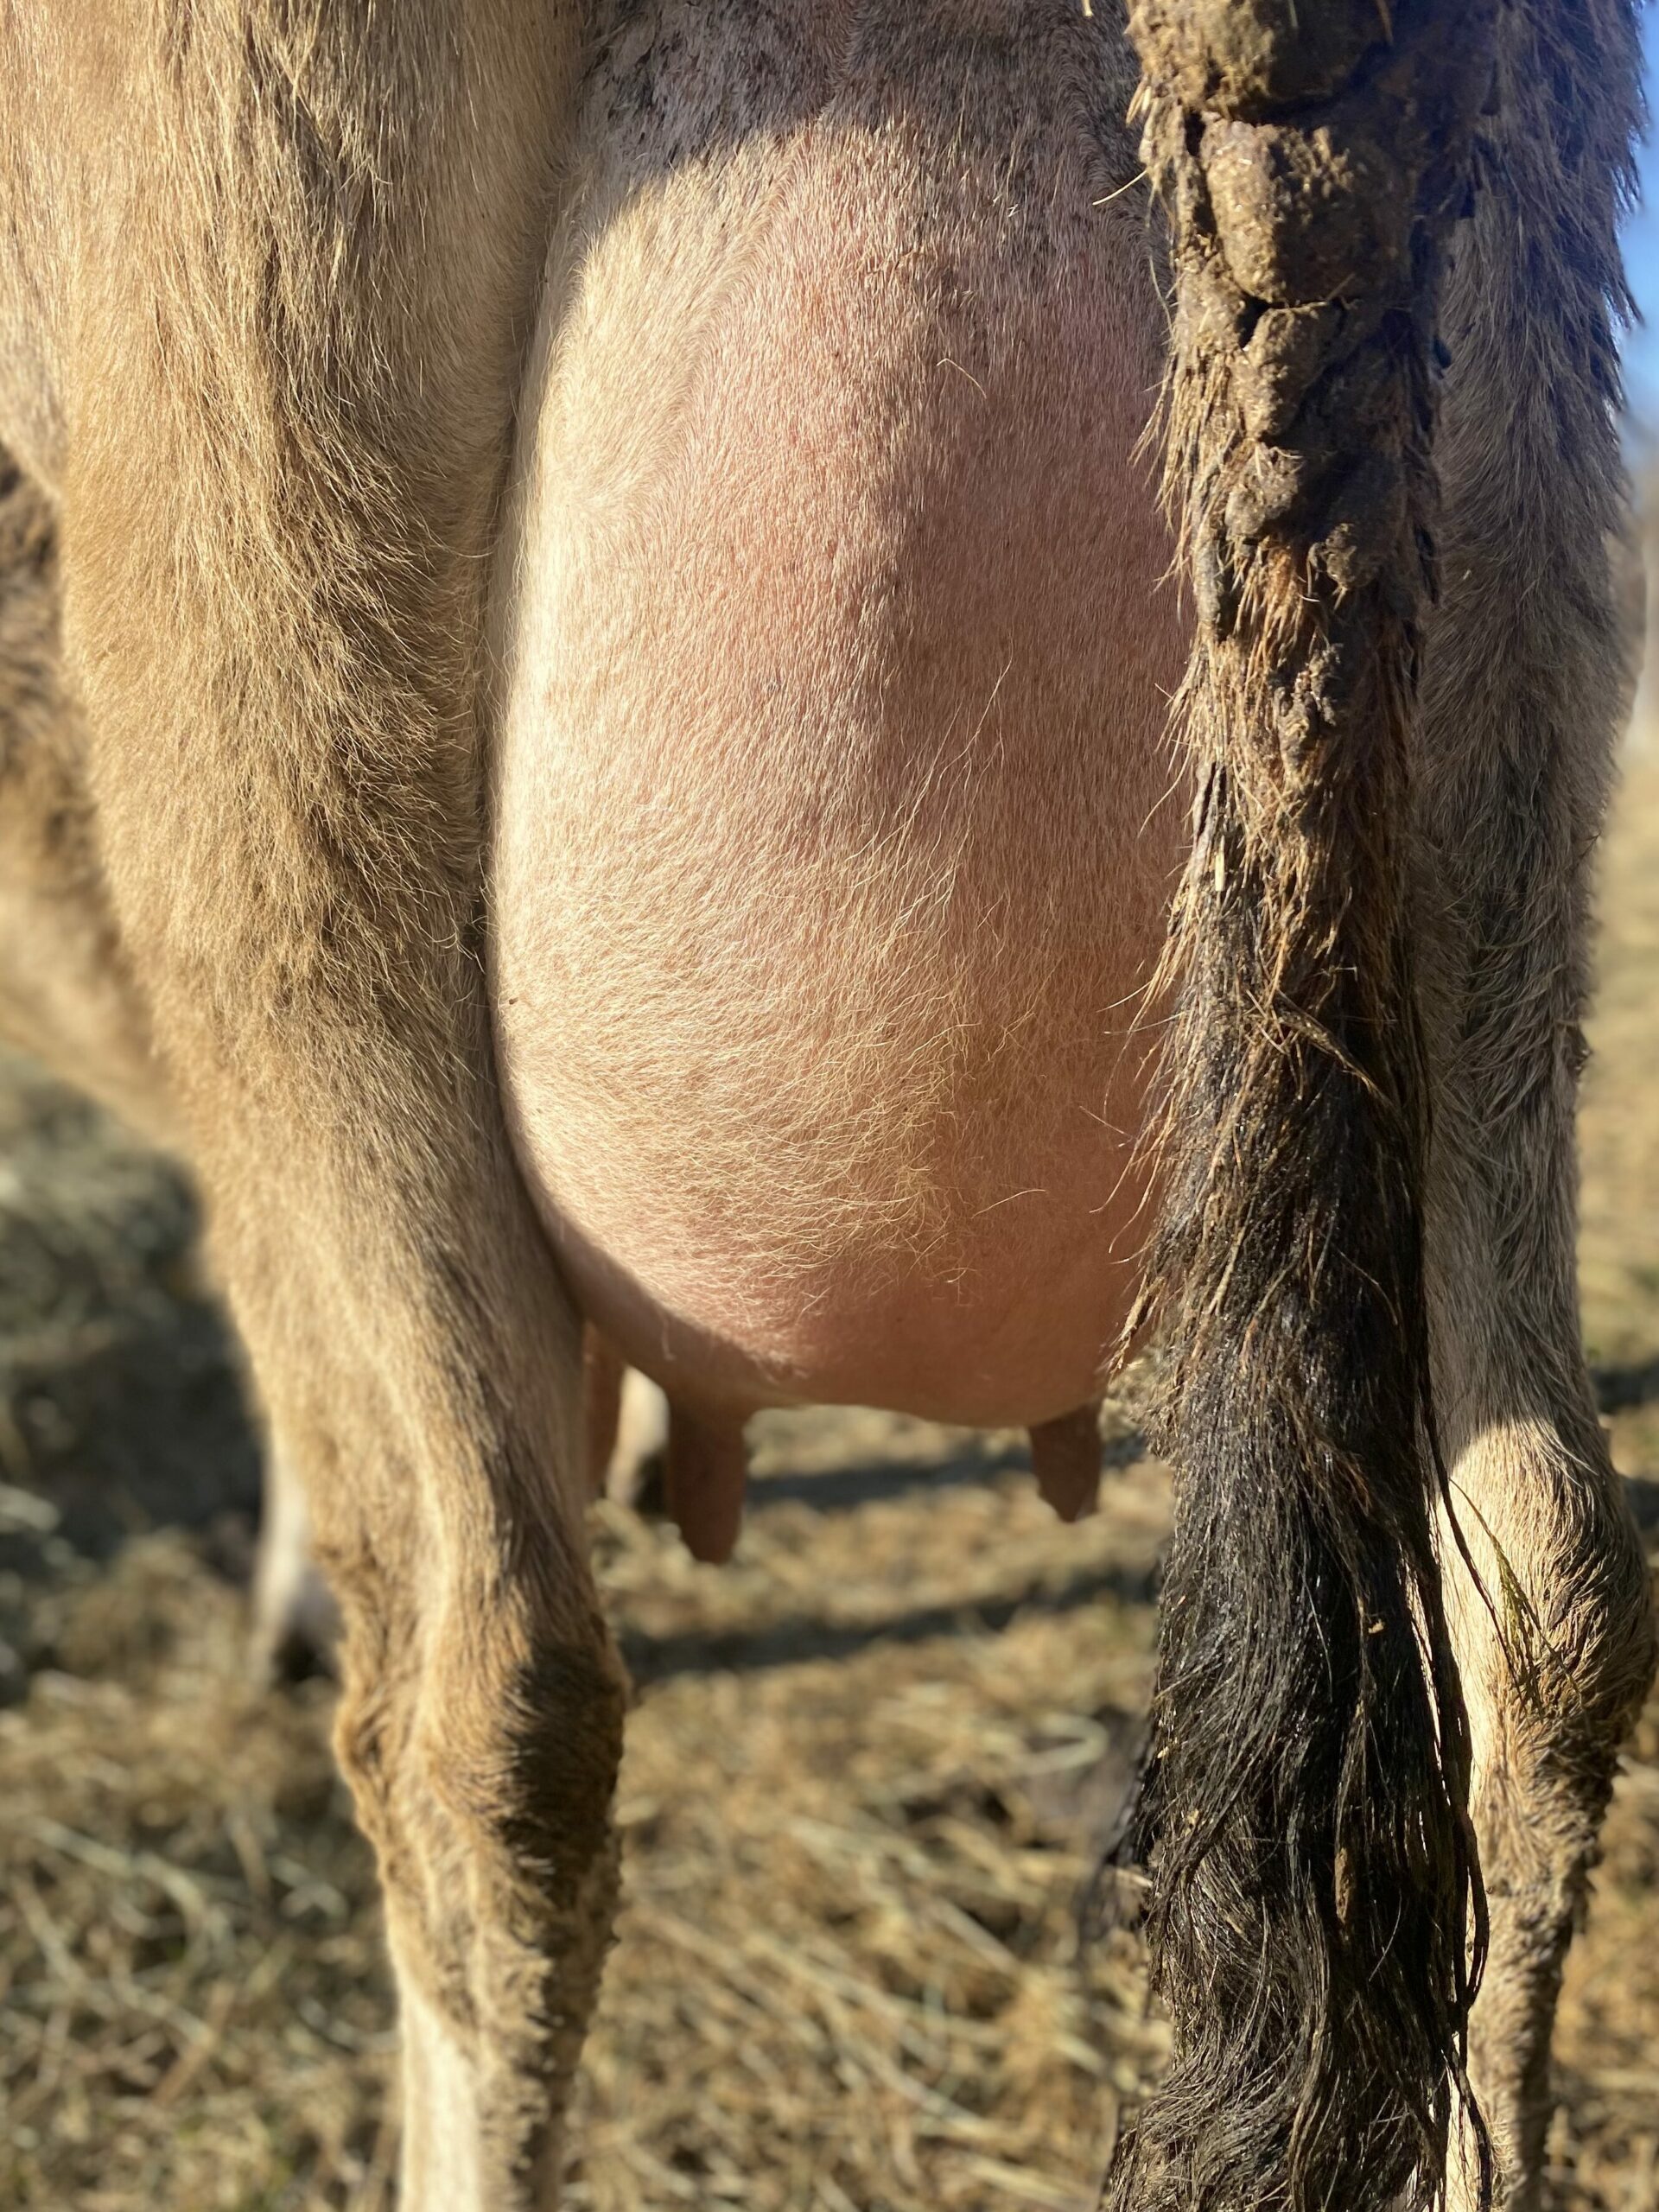
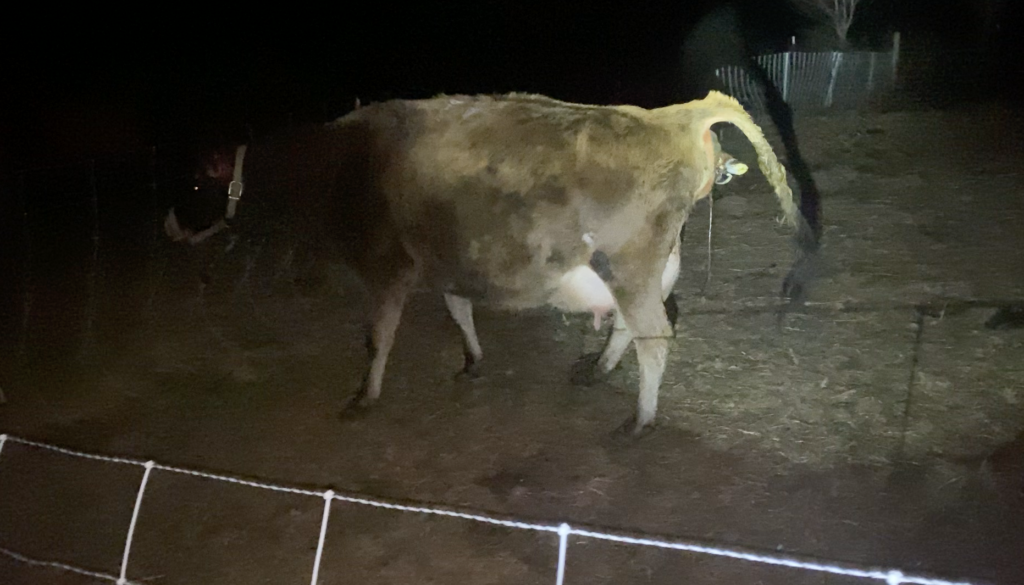
Then four days after her due date, I had a gut feeling today was going to be the day. It can be challenging to tell which signs are showing that calving is near vs. imminent but I think I’ve started to pick up on subtle differences that seem to hold true for all our cows. On the day of calving, they have a different waddle to the way they walk (see the video above), and their udders go from very full to swollen with edema (see the photos below, the distinction between the quarters becomes less visible and the teats look smaller). I also see that they are on their feet more, and just seem slightly restless. Though still eating, they aren’t laying around placidly chewing their cud all day long – even before the first visible contraction.

I checked on Mint Leaf throughout the day, and saw her first contraction at 5:02pm. She had a handful of contractions throughout the next couple of hours. I went inside to take a break from watching and make dinner for my family, but after just 5 minutes I had a feeling I needed to check on her, so I pulled up the camera and at 6:55 her water broke.

Mint Leaf’s Water Breaks

The children were all very excited since they had not yet seen a calf born and came outside to watch (so far our other calves have all been born while they were sleeping). The calf’s hooves emerged at 7:35pm, but after a few minutes it was apparent that the presence of the children was making Mint Leaf nervous so they went inside to watch through the camera while I stayed with her. At the same time Mint Leaf’s owners were able to watch their calf being born live since we have the camera connected to our internet. We’ve been so impressed with these cameras, at night they have tiny red dots of light that you can’t see lighting anything but they allow the camera to pick up so much!

The Calf’s Hooves Emerging

The calf’s hooves slipped back in between contractions for four contractions in a row, which is not necessarily a problem, but if there is no further progress for an extended period of time it could mean the calf’s head is not positioned properly.

After those four contractions Mint Leaf looked like she needed a break. She laid down at 7:48 to rest and after a moment nudged me to scratch her. Usually I find our cows love being scratched on their necks best, but at that time she only wanted scratches on top of her face. At 7:50 she started pushing again while laying down, and this time the hooves were followed by the calf’s head and shoulders.

Mint Leaf Takes A Break Before the Calf Emerges

I thought she’d have one more contraction for the rests of the calf’s body to emerge but instead she stood up, the calf slipped right out with the pull of gravity and Mint Leaf began talking to her and licking her. I looked the calf over while giving mama a little bit of space to do what comes naturally to her.

Mint Leaf Licking Her Calf

As you can see in the video above the calf was not moving very much at first but her eyes were alert and she was breathing well. The first movements are uncoordinated but very quickly she figures out how to tuck her legs under herself. After letting Mint Leaf clean her for several minutes I carried the calf into the shelter to get her off of the cold ground and onto the hay. We helped dry her a little more and after she had figured out how to get up on her feet and walk we put the calf jacket on her to keep her warm.

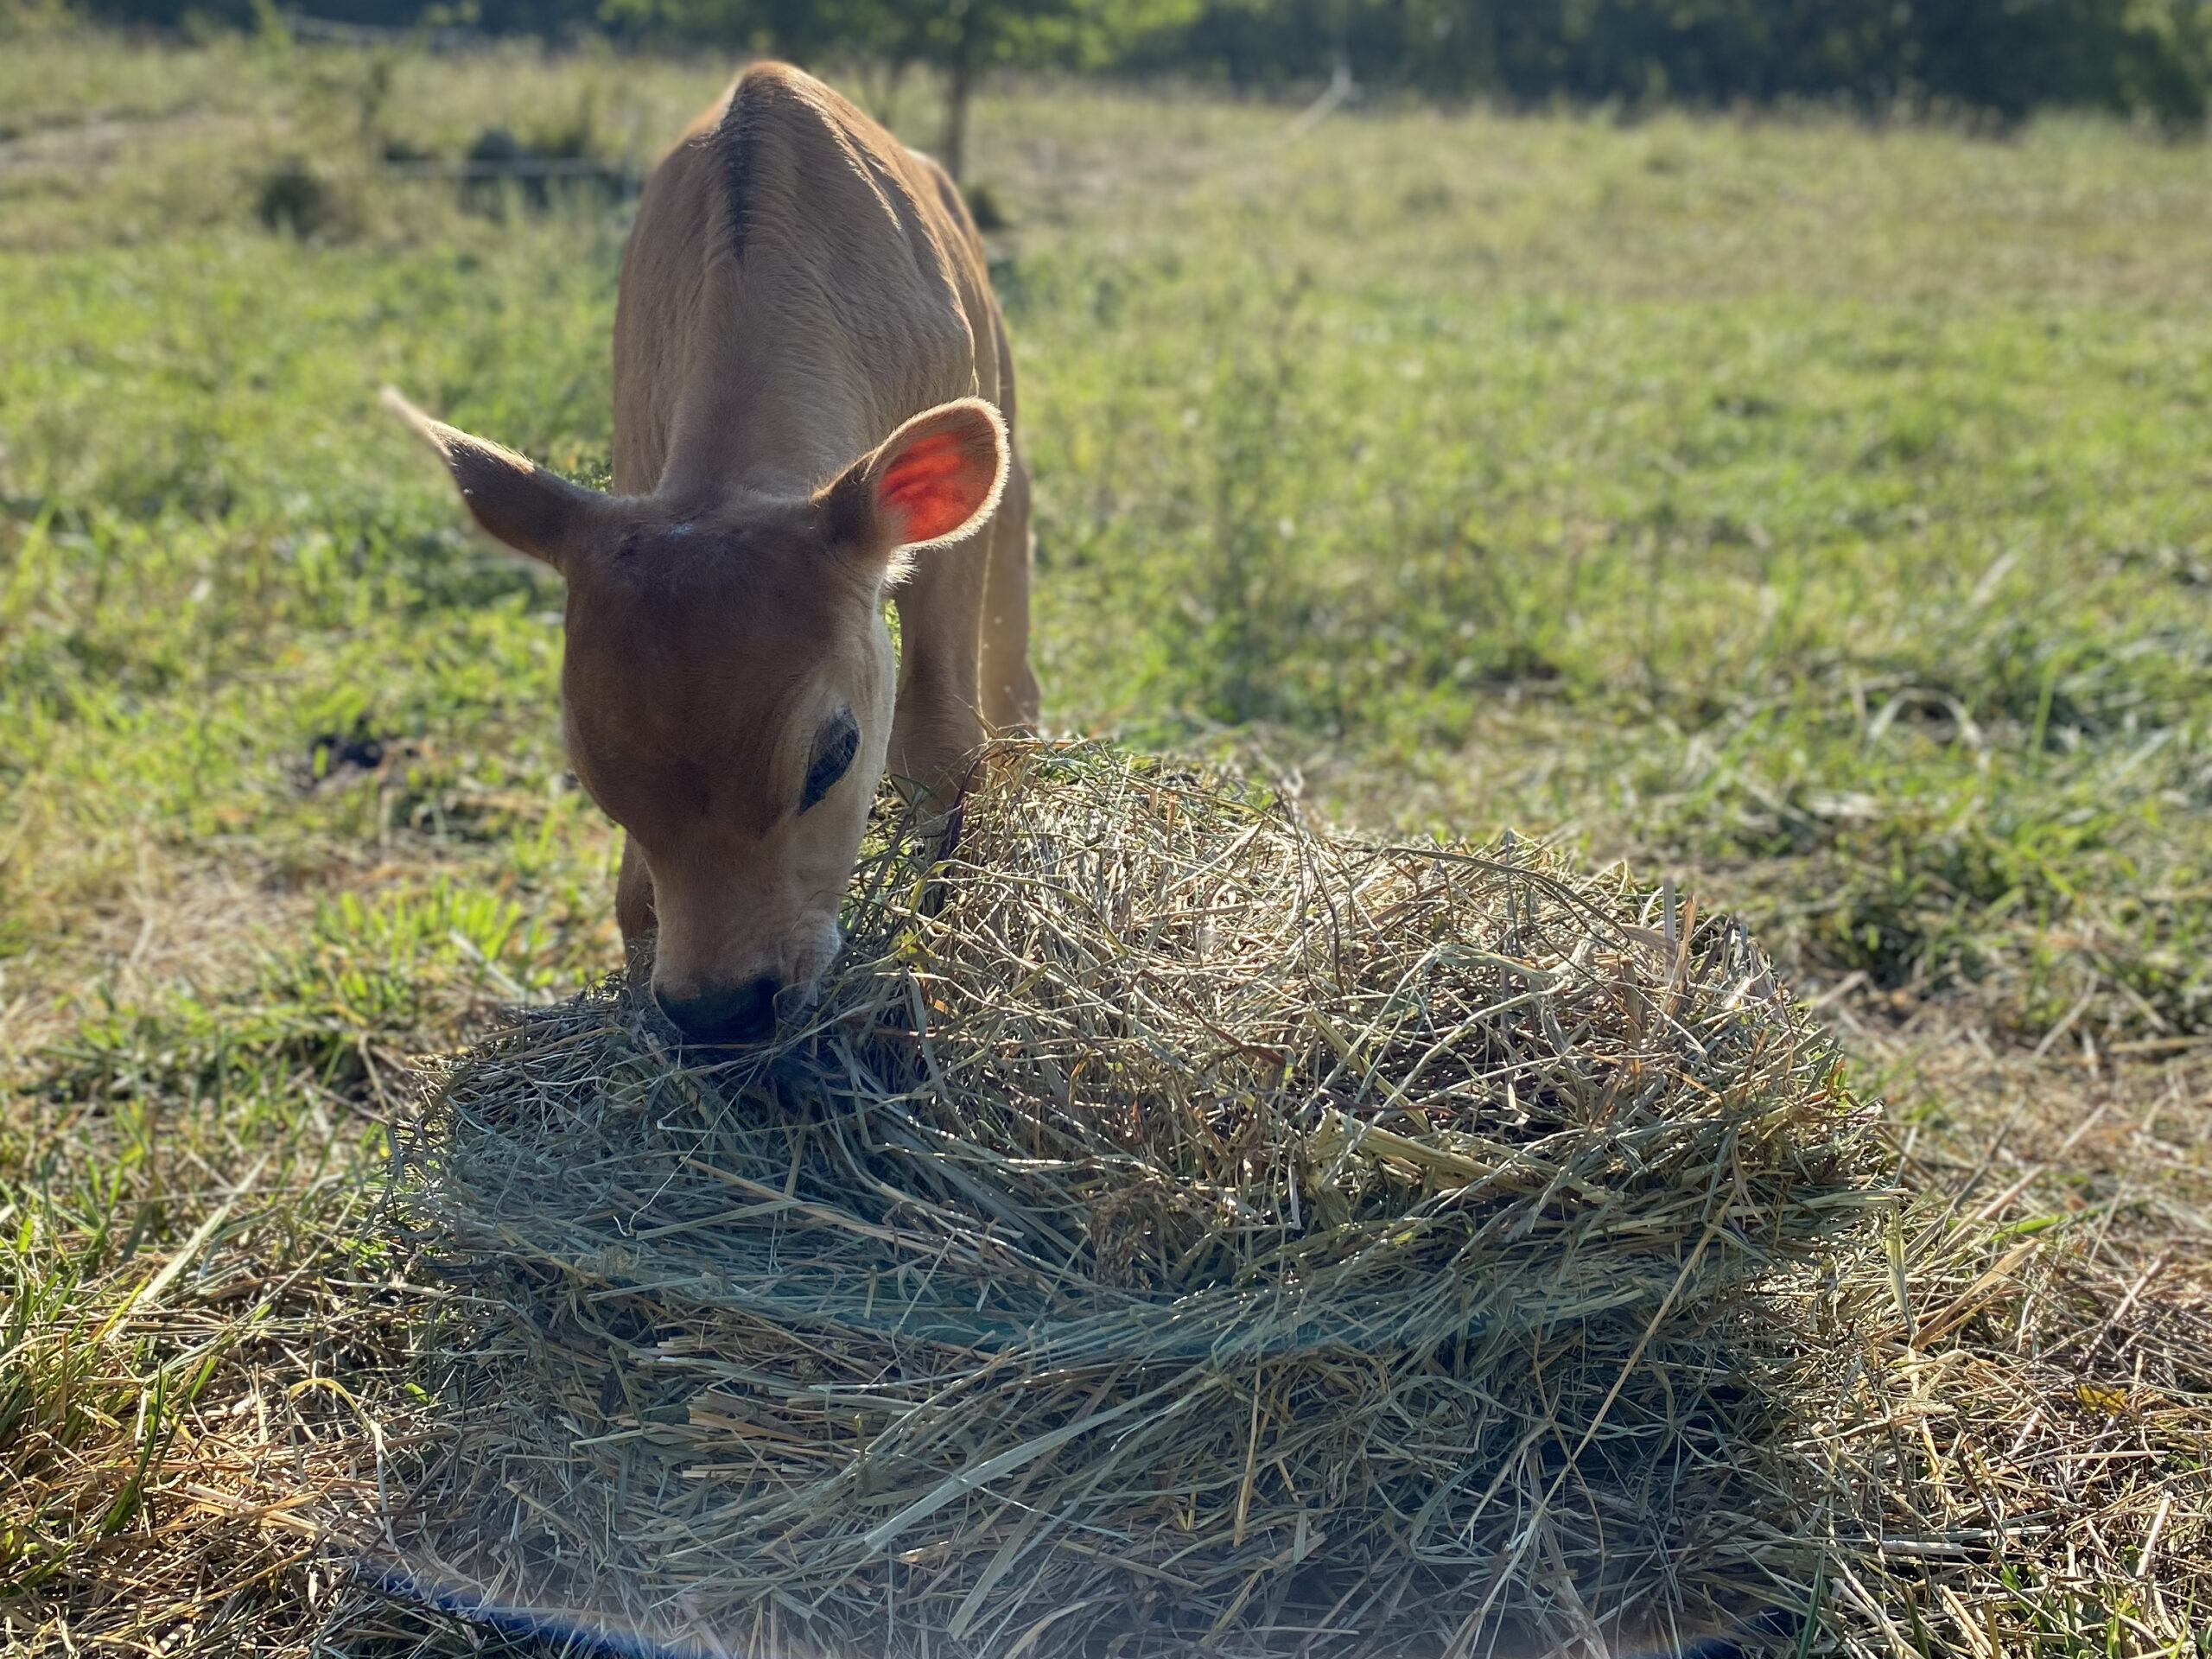
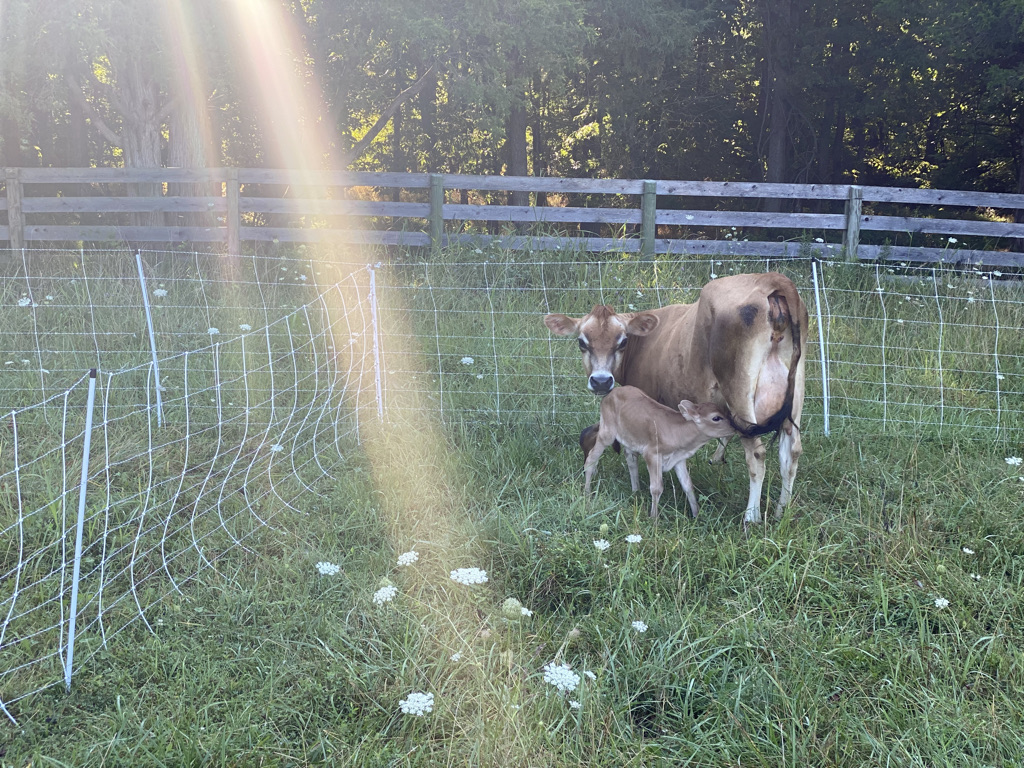
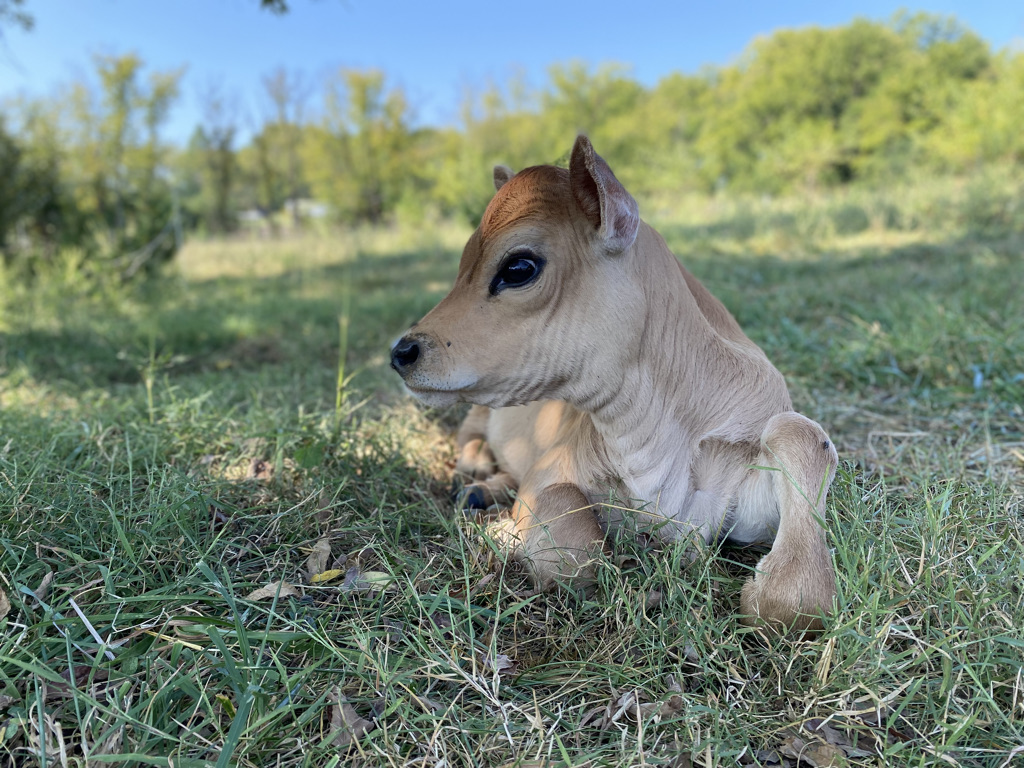
She was walking in less than an hour after her birth and I helped her to nurse for the first time shortly after that. I checked on her several times throughout her first night to make sure she was getting colostrum and was warm. Here she is her first morning after a very successful first night and later in the day with the warm afternoon sun on her!

Lavender at 11 Hours Old
Posted on Leave a comment

Monthly (ish?) News September 2023

September 29, 2023

A Ray of Sunshine

Sunshine (one day old)

The best news of the summer is that we had a heifer calf born in August! She’s a true ray of sunshine!

Sunshine is the third generation in our herd and has been an absolute joy to raise so far. She was nursing on her own within hours of her birth – even nursing all four of her mama’s quarters standing in one spot!

After a few weeks alone with mama, Sunshine slowly started becoming more interested in the other cows and calves in the herd and now she regularly spends time with both of her grandmas, and even nurses them too sometimes.

Sunshine (three weeks old)

We started working on getting Sunshine friendly with humans and introducing her to the halter at a younger age than we have with other heifers and she’s taken to training wonderfully. She is a blessing and a gift from the Lord during this tough farming year!

Record Drought

Prior to Sunshine’s birth (and subsequently too) we experienced a drought – the second driest year on record for our area. After grazing the cows through all of our rotational grazing paddocks just one time, they did not grow back enough to feed the cows again without supplemental hay. We started feeding hay in June and continued all summer. The drought finally ended in late September and the end of the month has felt like spring with the pastures greening up again!

A New Pest

Itch mite bites!

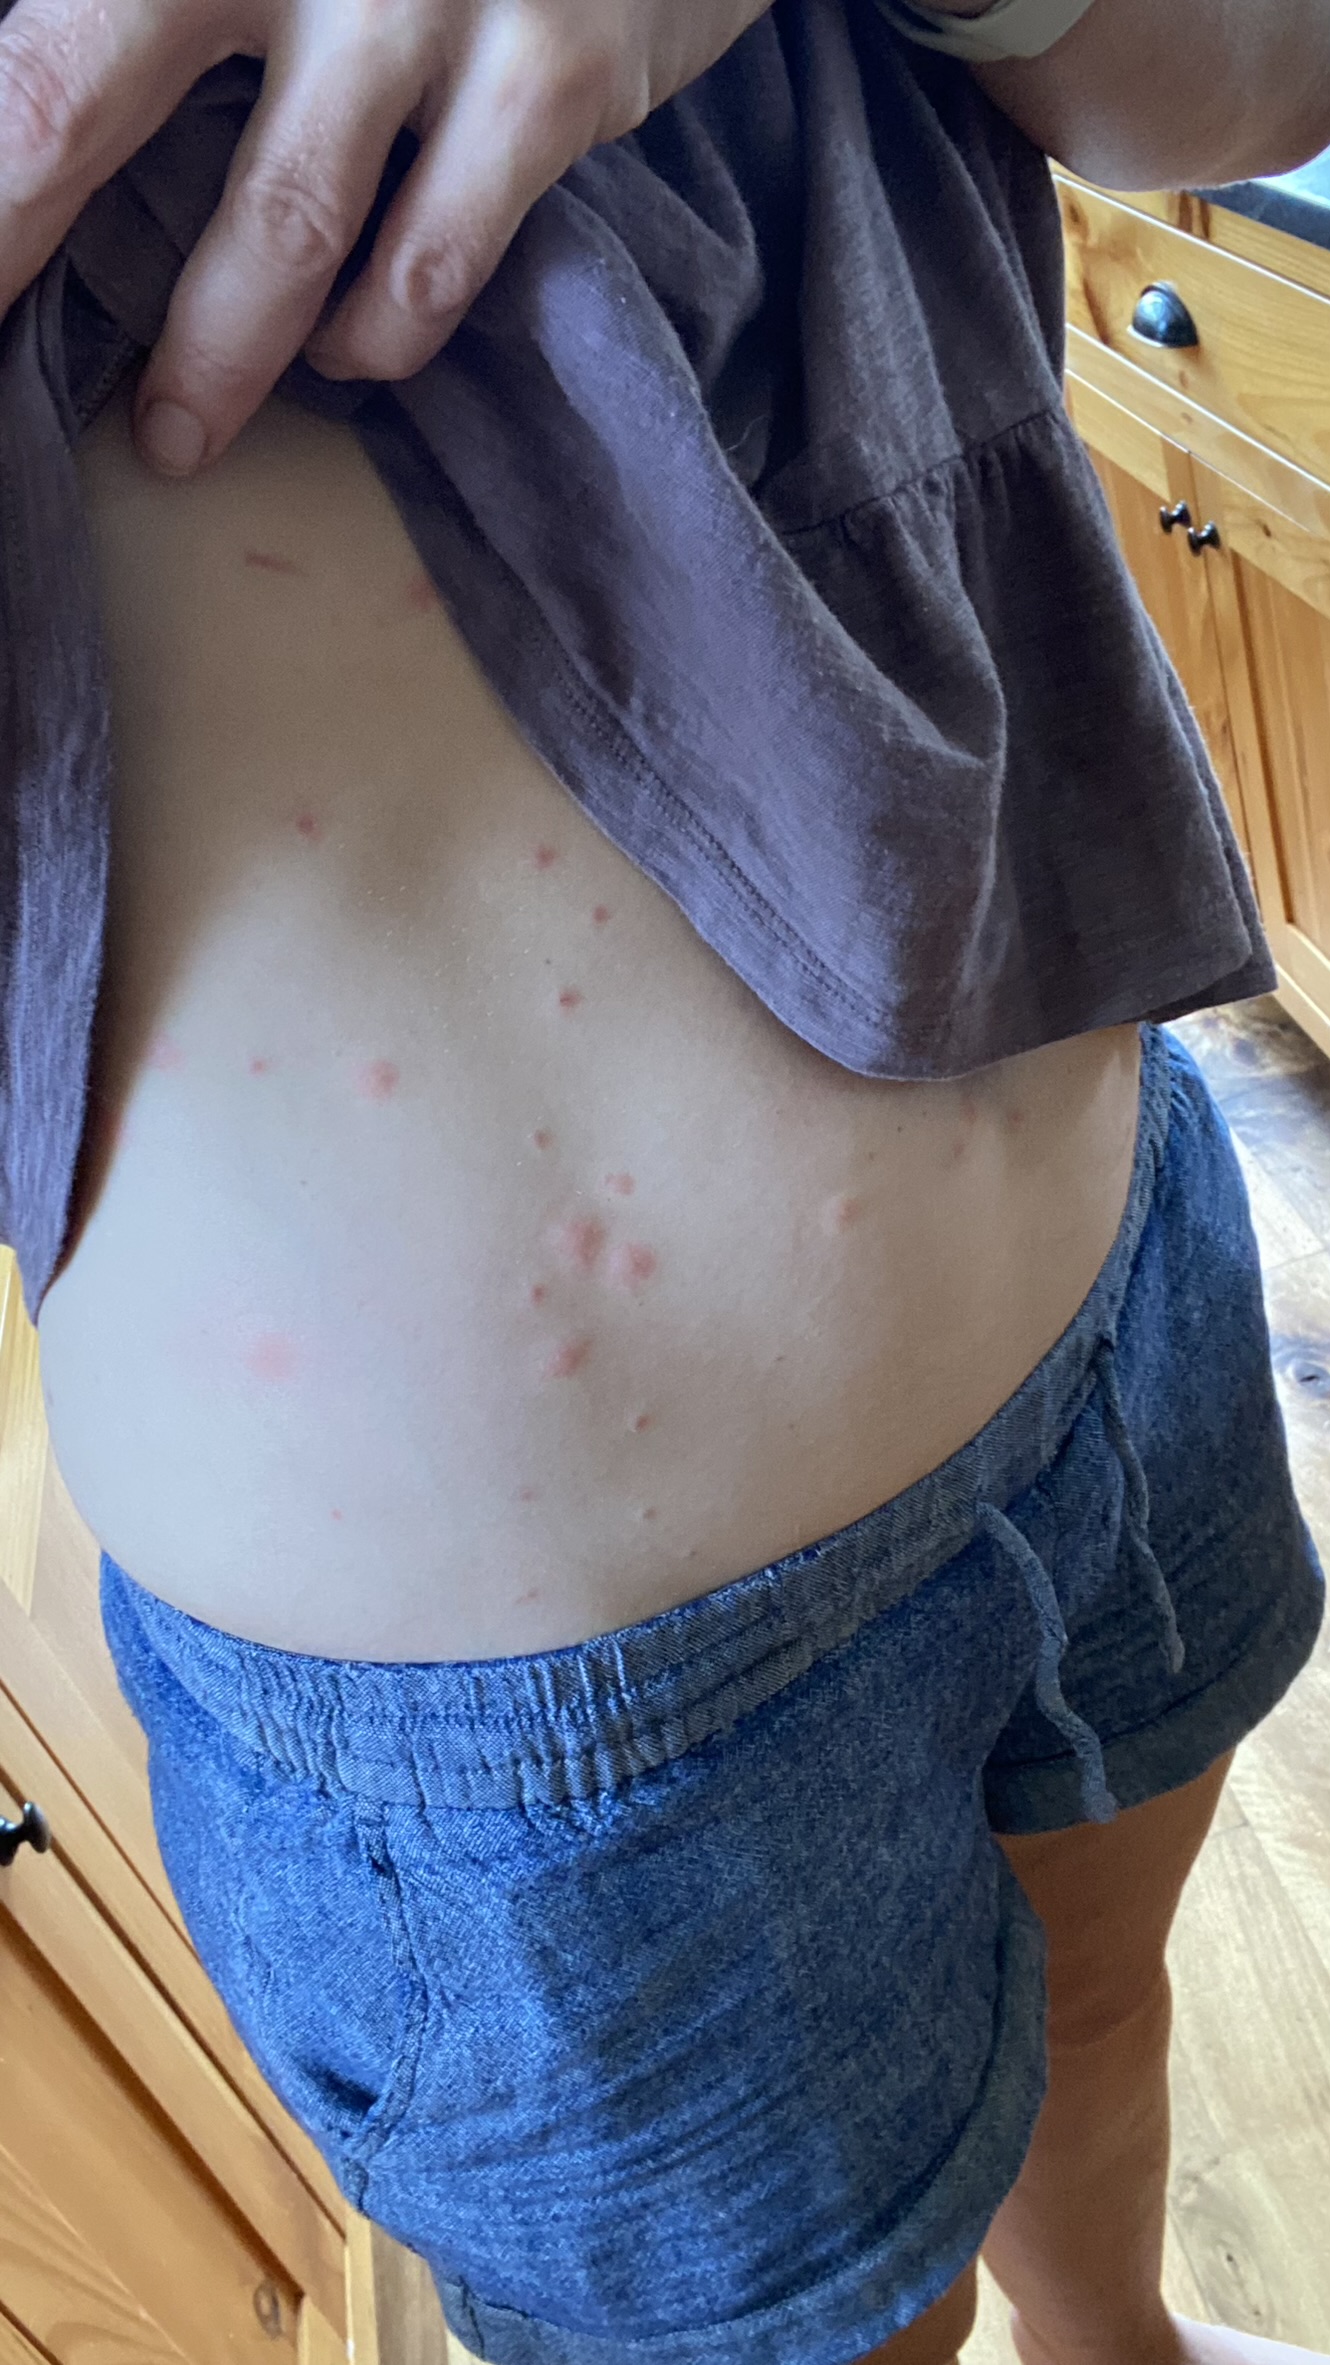
This summer we experienced a pest we had never heard of before. I was worried I was becoming allergic to hay until we realized what was happening – one of the loads of hay we got this summer had itch mites in it. Itch mites are tiny insects the size of a particle of dust (not visible to our eyes) that can be found in hay in the late summer. They usually eat other insects that get into the hay but can bite people and animals too and they are related to ticks so their bites can hurt and itch badly. I was one of the unlucky ones that had huge welts all over my abdomen and even in the bend of my elbow and underarm where I carried the hay. I found Lavaderm from Young Living to be super helpful with the itch and inflammation, which felt a lot like poison ivy rash to me and lasted about as long. Just thinking about it now has got me itchy again!

Winter Preparations

Certified organic hay delivery

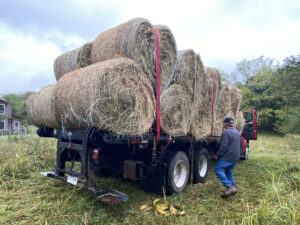
On a happier note, this month we took delivery of a full truck load of certified organic hay, which should get the nine cows we’re currently feeding through the rest of the fall and winter until spring comes again! The children are having a blast playing on the bales as usual.

Working on a wall of firewood

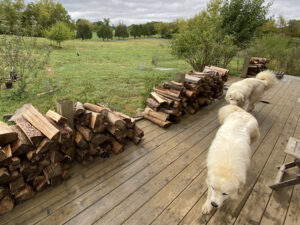
We also stacked all our firewood this month. This year we decided to stack it like a wall surrounding our wrap around porch. Some of it is under a roof and a lot of it is not. We shall see how we like this setup, but at the very least it’s a lot closer to the house than it has been in the past. I love the seasonal winter preparations that we work on as the days begin to shorten in the fall!

A New Garden Bed

Before: No grass 3 years after construction ended because of constant foot traffic plus dogs and children digging in the dirt

Another source of joy for me this summer was transforming the beat up construction entrance to our home into a garden bed and brick and stone path! Most of the plants (in the photos below) are perennial and should come back next year, including the fluffy “Marshmallow” Daisies (at the bottom right). We also included my favorite variety of hosta called “Diamond Lake,” “Soft Touch” hollies, a dwarf butterfly bush (that smells amazing!) and a bird bath, which was used all summer by many birds. The one annual flower we planted is the Polka Dot Periwinkle, which grew and spread beautifully despite the drought here (I did water them a handful of times until they were established).

After:

Almost weaning time

Rainbow is halter trained and comfortable with humans touching her all over!

We have just over a month left until we’re going to wean the older calves, Rainbow and Blackberry. In preparation for potentially selling calves, we completed updated disease testing on all our cows and everyone came back negative for Johnes, BVD and BLV.

Rainbow’s training is coming along well. She’s just shy of 5 months and about 38 inches tall. We expect her to mature around 47 inches, but her height is not matching up with the Jersey heifer growth chart. It’s making me think of when our oldest was a baby and I learned that the baby growth charts were based on formula fed babies, and breastfed babies grew faster than the charts in the early months. Rainbow has nursed on-demand since we grafted her on to our cow at about a week old and I suspect this is why she’s growing faster than the chart!

There’s much more that has been going on around the farm since my last update in July, but this sure is getting long. I’ll save the rest for later!

❤️ Sarah

Posted on Leave a comment

Cutting our chicken feed bill by 65%

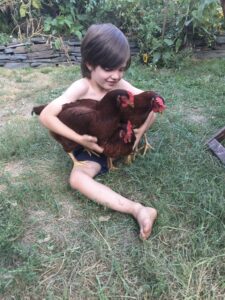
Our oldest child holding all three of our first laying hens

When we first started with three hens in our urban backyard, we bought the best feed we could find – certified organic North American grains, corn-free and soy-free – and there were plenty of kitchen scraps from our own kitchen and our neighbor’s to go around, plus grass and bugs in the yard of course!

Once we moved to our farm, our flock began to grow and over the years as we started offering more hatching eggs our feed bill grew significantly, along with our flock. Then inflation started impacting the cost of feed at the same time sales started diminishing. When hatching egg sales slowed down for the season earlier than previous years, we knew we needed to reduce our cost. We were paying almost $1,400 per month on chicken feed! We paused hatching egg sales and began to experiment with cost saving ideas…

Ideas for reducing your chicken feed bill:

  1. Keep your flock just large enough to provide the number of eggs your family eats. Supplement your chickens with your kitchen scraps and garden refuse! If you haven’t fallen prey to “chicken math” yet, count yourself blessed!
  2. If you do find yourself with more chickens than you need for eggs, start filling your freezer. We have butchered many chickens this year, but it seems we never keep up with the broody hens that keep turning up with more baby chicks for us to raise!
  3. Buy feed from a local distributor (or become one yourself if there aren’t any in your area) to save up to 50% off the price of shipped feed. If you serve as a distributor you get a wholesale price on the feed you purchase, and you can make a small profit on each bag you sell.
  4. Buy feed in a 2,000 pound tote, which can be stored for several months as long as you can keep rodents out of it!
  5. Purchase individual grains and mix your own feed (this is how we saved the most!)

On to our experiments! (We tried all but #1 above during the last year…)

Tote delivery

Chicken feed tote
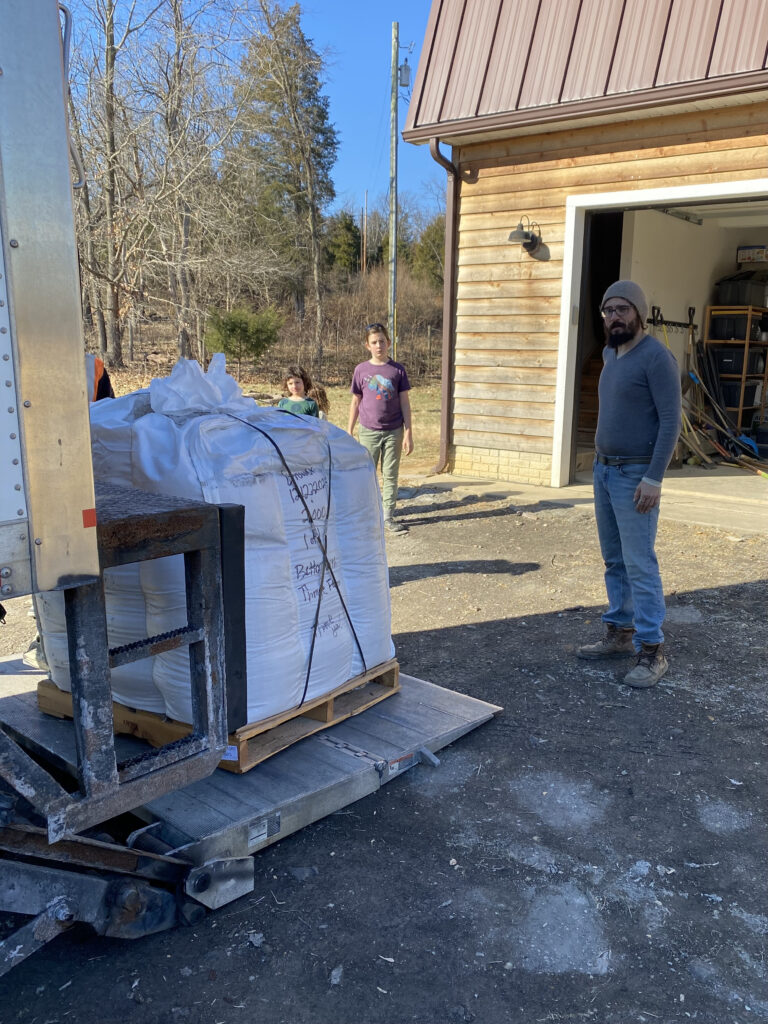
Taking delivery of a tote of chicken feed

At the beginning of the last hatching egg season we bought a 2,000 pound tote of the chicken feed. A tote of feed sits on a 4×4 pallet and is about 4 feet tall as well when it’s full. It’s basically a very large square bag made of woven plastic material and you can fold down the sides as you empty the feed. The price per pound for a tote of feed including delivery was $0.95 instead of $1.70 for the same exact organic, corn-free, soy-free feed we previously bought by the bag (a 45% savings per pound). This is a great option if:

  • A large truck can easily enter your property
  • You can move a pallet with 2,000 pounds on it or you are willing to put in the work to transfer the feed to smaller containers. (It wasn’t nearly as hard as we expected!)
  • You have a garage, barn or other covered place to store a large tote or the containers you transfer it to
  • You can keep rodents out of the feed until it’s used

Getting a large truck to maneuver on our property is a hassle, so we decided not to reorder this way.

Monthly pick up

After hatching egg season ended, we decided to try switching from delivered feed to a monthly pick up of non-GMO feed from a local farm, which brought the cost down to $0.76 per pound (a 55% savings per pound). This particular local farm is not certified organic, but is still corn-free and soy-free, non-GMO and the farm uses regenerative farming practices.

I had saved eggs from before we switched feed so I was able to compare side by side.

This feed seemed great at first! But then I started noticing that our chickens’ eggs were not the same quality they had been. I started looking at the difference in ingredients from our previous feed and watching more closely what our chickens were eating. It turned out that the protein content in the feed was partly relying on alfalfa pellets, and our chickens did not eat any of the alfalfa. So that protein we were paying for was being left on the ground and I suspect the change in our eggs was due to our chickens not getting enough protein.

DIY chicken feed

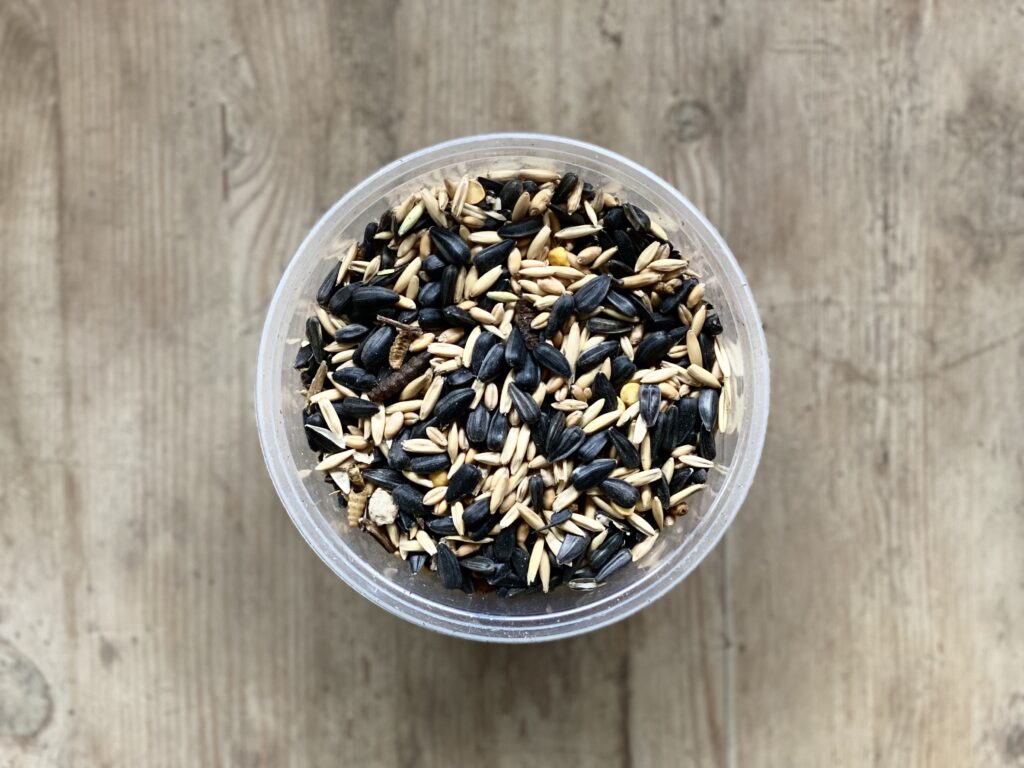
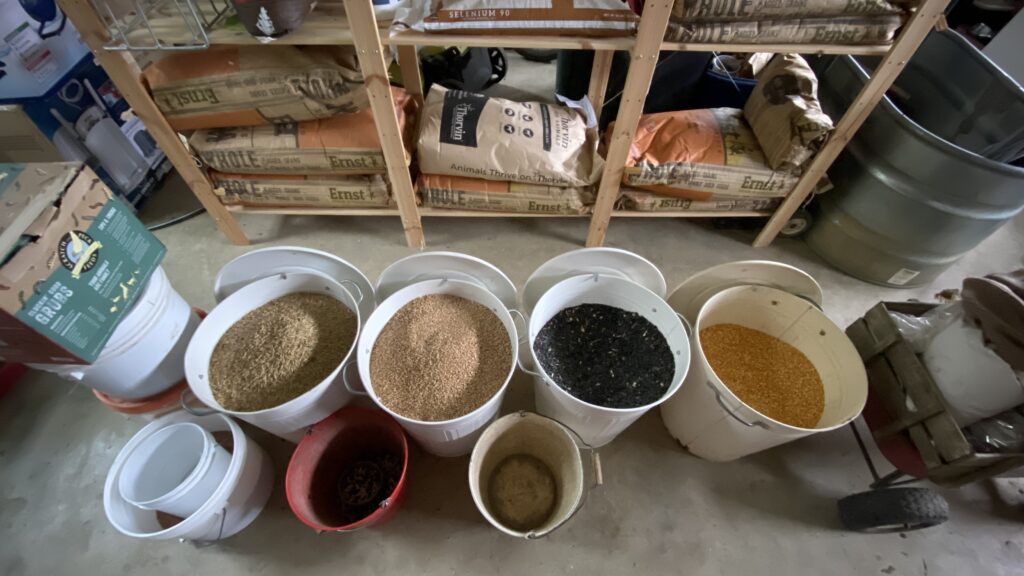
Our DIY mixed whole grain chicken feed

When I was trying to decide what to do next, I learned of a family who feeds their chickens wheat soaked in milk from their cows, which got me thinking about trying a more DIY option.

I put together a feed formulator to make sure I was getting enough protein in the mix (which is the main thing that can easily fall short when feeding chickens grains). We purchased individual grains to combine ourselves, which are less expensive than pre-mixed chicken feed. Over several months I tried out different combinations of ingredients to see what worked best for our chickens until I found a mix where the ingredients met their protein needs and I was sure they were actually eating it all!

Observations of DIY chicken feed and protein ingredients in chicken feed

Ideally we want our chickens eating at least 16% protein.

  • Our chickens favorite grain/seed ingredient by far is black oil sunflower seeds – they always pick them first when given a choice of grains and seeds. BOSS are 16% protein.
  • Our chickens love wheat next after BOSS and it’s the least expensive grain we buy so it helps keep the price down, but wheat is low in protein at 11%. (Corn or soy might be less expensive but we do not feed any corn or soy to our chickens.) Another popular and inexpensive grain for chickens is barley, but with the protein as low as 7% we decided not to use it.
  • Oats are also the right proportion of protein at 17% and offer some health benefits for chickens that are different from other grains.
  • Peas are higher in protein, but we discovered our chickens would only eat some peas and ignore the rest (I found they will eat a maximum of just over 5% peas).
  • Milk is another ingredient with the right amount of protein, plus it includes minerals, helps moisten the dry grains and it’s free if you have extra from your own cow!
  • To give the chickens a big protein boost and to include something that’s not a plant, we add dried black soldier fly grubs. Grubs are the first thing our chickens eat before any grains. Chickens are omnivores after all!

After playing around with these ingredients I figured out a DIY chicken feed recipe that costs us $0.60 per pound (a 65% savings per pound)!

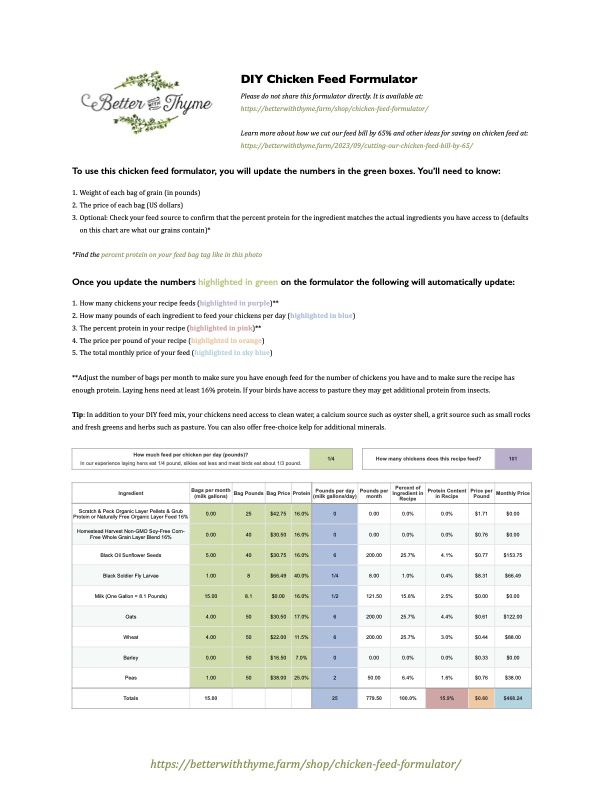
This is the recipe I created (shown in the formulator I made so that you can come up with your own recipes):

Ready to create your own DIY chicken feed recipe?

Get the editable version here.

Happy formulating!

XO Sarah

PS Here are a couple more tips for DIY chicken feed:

Store opened grains in metal containers to keep mice out!

If you feed all your chickens in one place, there’s no need to worry about mixing. You can just measure the right amount of each grain and they will pick through it.

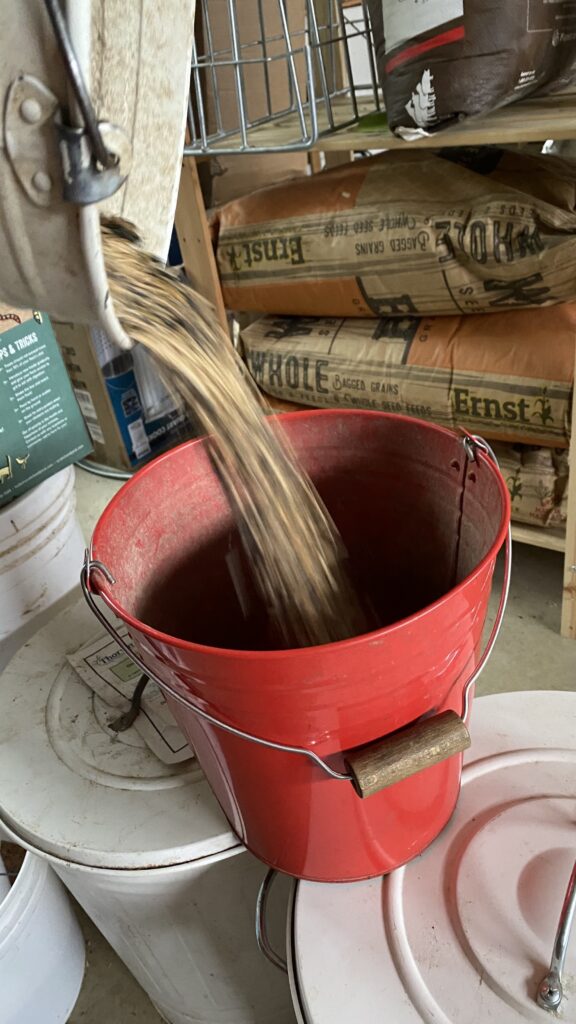
If you have chickens in separate groups like we do, keep two buckets near your grains. Measure your grains for the day into one bucket and then pour back and forth once or twice until everything is evenly distributed and then you know each group of chickens is getting the right ratio of each grain.

Posted on 1 Comment

New cow arrived with a highly contagious infection, here’s what happened…

In this post you’ll learn all about pink eye in cattle, how to recognize it, how to treat it naturally and how to hopefully prevent it from occurring in the first place. We share the full story below of how we went from very distraught about the potential damage to our entire herd to thinking about pink eye holistically.


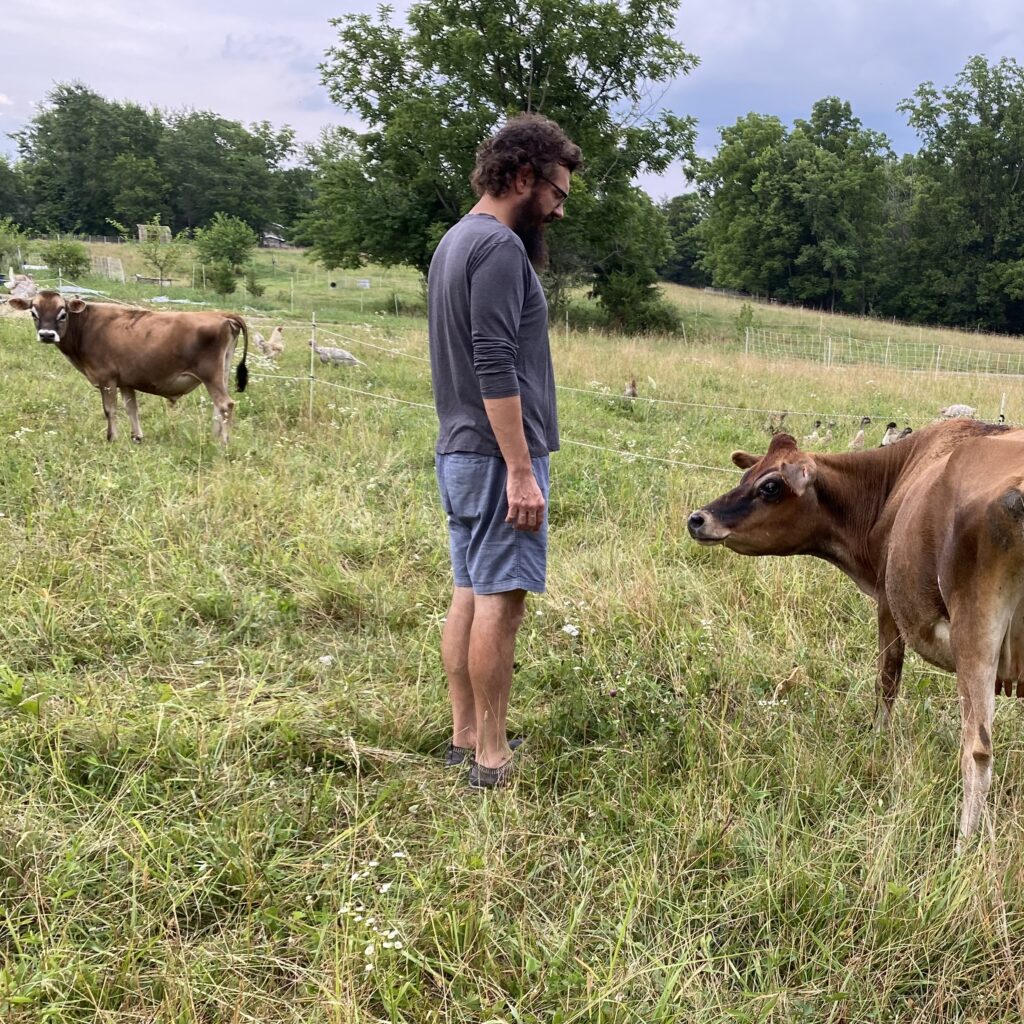
This summer Mint Leaf joined our herd temporarily – our goal is to train her be a family milk cow before she goes on to her new home after calving next year. When she arrived she was mostly unhandled, and ran the other way whenever we came too close for her comfort. Whew!

Mint Leaf and her yearling bull calf on the day they arrived to our farm

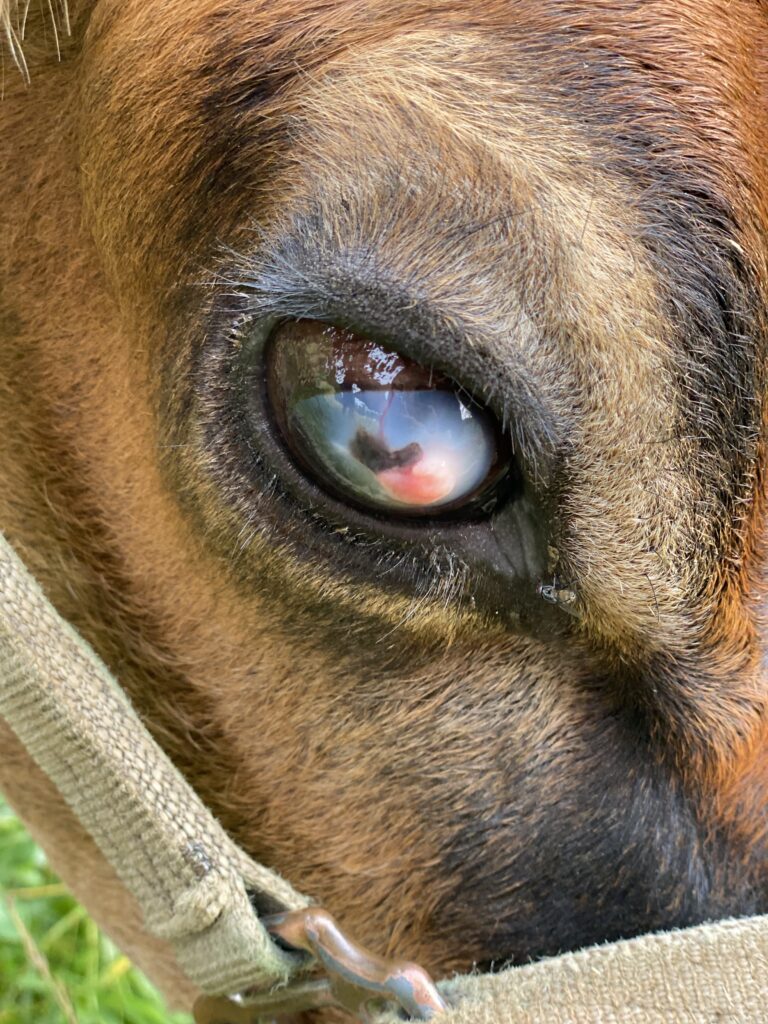
After Mint Leaf’s arrival we realized something was going on with her eyes – we saw white spots near the center of each of her eyes. We reached out to her previous owner and learned that those were scars from a her having pink eye previously. But over the next couple days we saw one spot seemed to be getting bigger and her whole right eye was turning cloudy looking. We gathered and prepared natural remedies for pink eye (more details on those in a bit) and began to attempt to treat her eyes.

If you search the web for information on pink eye in cattle, you’ll discover that it is reported to be caused by a bacteria that is easily transferred from cow to cow by flies that congregate around the cows’ eyes. You’ll also likely be met with an overwhelming number of pages that say it is highly contagious and can lead to blindness!

We contacted our vet to ask her opinion, and she said besides the cloudiness to the eye to look for watery discharge and squinting in the sun to help determine if it was an active infection. We never saw her squint in the sun, so maybe our treatment stopped it from reaching that stage!

For several days we kept a close watch on all of our other cows’ eyes, worried that we may have a herd outbreak. Thankfully none of the other cows developed any noticeable symptoms other than a slightly watery eye here and there. This experience was another powerful example to us of how “terrain” is more important than the mere presence of “germs.”

What do I mean by that? We figured out that the reason Mint Leaf developed this infection while none of our cows did is likely because our cows are given free choice minerals, specifically kelp and the iodine it contains protect against pink eye infection even in the presence of the bacteria that causes the infection. (During the first few days that Mint Leaf and her calf were here they went through an entire salt mineral block between the two of them – pointing to a definite need for more minerals in their bodies!)

This is the closest we could get to Mint Leaf before she would take off in the other direction when she first came to our farm
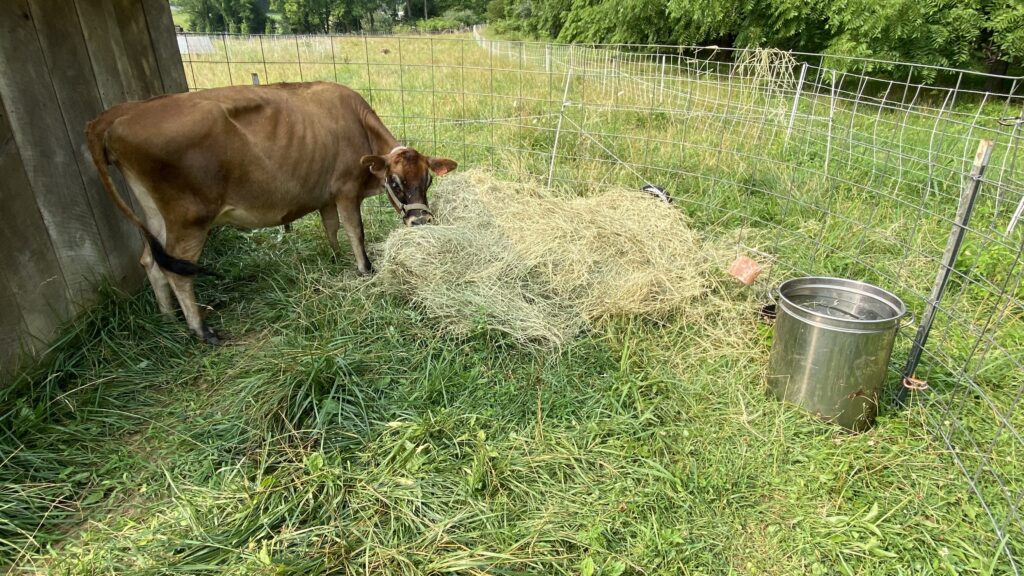
Mint Leaf in the corral we set up to treat her

At first we were not able to adequately treat Mint Leaf’s eyes with her being so skittish of us – we snuck in a few sprays as she ate a treat (molasses and alfalfa) but she was on to us quickly and would not let us get close enough to help her after a few treatments. We knew we needed a better plan ASAP so we set up a small corral with cattle panels adjacent to the cows’ current paddock in their rotational grazing. Then we let our cows lead the way in, with Mint Leaf following closely behind – they are herd animals and we took advantage of this! Once everyone was in the corral we led our cows back out and Mint Leaf was contained. So simple and no stress.

We started drenching Mint Leaf’s eyes at least twice a day with a recipe we made from essential oils, an eye bright tincture and colloidal silver. We switched from a spray bottle to a squirt bottle so we could more thoroughly drench her eyes. One person held her head close to their body while the other held her eye open and saturated it with the mixture. Cows can squeeze their eyes very tightly shut so you have to be very firm! We also gave her kelp, Vitamin A (which can become depleted during infection), selenium, Redmond salt and a daily dose of the immune supporting recipe we use for cattle (all of the details of these natural remedies are in our Holistic Homestead Course). Mint Leaf happily gulped down all the vitamins and minerals we provided her and I refilled them multiple times per day to help her body heal.

When our vet came out to look over Mint Leaf, we learned that pink eye starts out all over the eye, and then as the healing process begins the body concentrates the infection into the pink area you see in the photo above.

The pink area gets smaller and smaller until it’s cleared up and it can take a month or more for the pink to disappear. This area of concentration often protrudes from the surface of the eye and will likely have white scar tissue long term from the pressure there. Usually the cow will be able to see well enough but may have some areas of dark or lost vision.

Mint Leaf back on pasture

Despite Mint Leaf really disliking her eyes being treated, we were able to take advantage of the time we had her corralled to get a halter on her, brush her all over (cows LOVE brushing) and we each brought her handfuls of her favorite plants from the pasture every day (along with the hay she had in the corral) so that she learned to eat out of our hands and not fear us.

We put Mint Leaf back on pasture as soon as she was friendly enough for us to catch her and continue treating her eyes. Now we can walk up to her and give her scratches almost as easily as all of our other cows!